Introduction

Replacing the grip on your camera may be necessary at some point due to wear and tear. This is not a necessary replacement, but makes handling the camera easier and more comfortable.

The Phillips #000 screwdriver is marked as an optional tool as you can always use the JIS #000 screwdriver in its place (JIS screwdrivers won't damage Phillips head screws).

  1. eVNaGnROZKlM5UPX
    • Place the camera upside down, and position it to where the back of the camera is visible.

  2. B6oKTtSBscpBBZgQ
    • Pull the orange tab to the right to release the primary battery.

  3. LShBoBNhsd3GPMsj
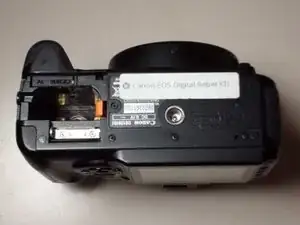
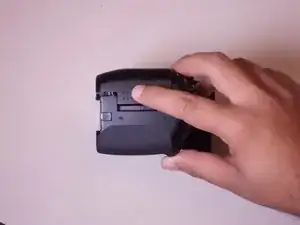
    • To remove the secondary battery, reposition the camera to where the display screen is facing upwards.

    • Place your finger inside the empty battery compartment and pull away from the camera on the ridged battery tab.

    I have the rebel xti as well, and have the same issue, and i have 2 new primary batteries, and 1 new secondary battery, and 1 new charger, yet the camera, still will not turn on. So, if not the battery or the battery charger, what could be the problem? Ty

    Rich Irons -

    I had no idea my camera had a second battery!

    Terri -

  4. WZKtsgBtBwH6c5QJ
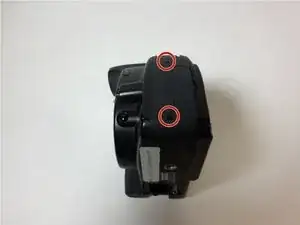
    • Place the camera on its side with the soft touch grip facing up and the top of the camera facing right.

  5. IJfkvVOxfSbMWfpP
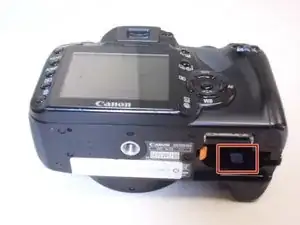
    • Slide the memory card door in the direction of the arrow engraved on the camera.

    • Once the door has slid open to its full position, lift up on the door.

  6. EouHaNMKYtujTXih
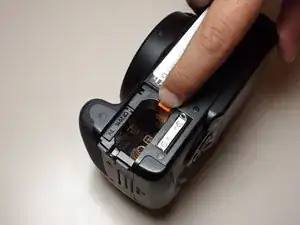
    • With the door open, push down the small black plunger next to the CF slot. The CF card will disengage from the slot and be ejected far enough that you can grasp it between thumb and forefinger and remove it from the slot.

    • The plunger will stay in its depressed position until a CF card is again inserted in the slot.

  7. chsDUW4eW1iT6bgo
    • Remove the three black M3x4mm JIS #000 screws on the bottom of the camera.

  8. U5vt6jtap6ZyV5p3
    U5vt6jtap6ZyV5p3
    SAFMaSJQY5QBRNfM
    • Remove the two black M3x6mm JIS #000 screws from the right side of the camera.

  9. 56PyANZVbsMDHDBt
    • Remove the two M3x5mm JIS #000 screws on the side of the camera opposite to the hand grip.

  10. 2rFAMPqxTM6KiRGL
    • Remove the following screws located in the memory card slot:

    • Two M3x2mm JIS #000 screws

  11. wggcmjLLBGTxQnTe
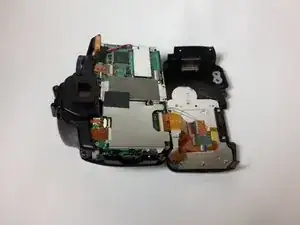
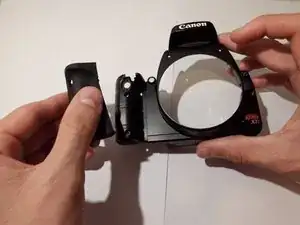
    • Gently pry off the back casing.

    • Before completely removing the back casing, be sure to disconnect the single ribbon cable running from the motherboard to the LCD display.

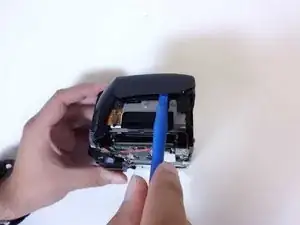
    • Use a spudger to lift the tab on the ribbon cable's ZIF connector.

    • Gently pull the ribbon cable out of the connector.

  12. d5aFlhSOvXFAZngS
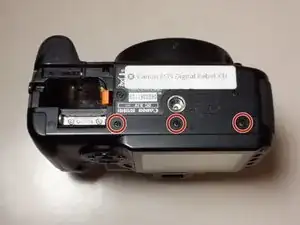
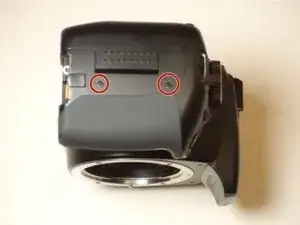
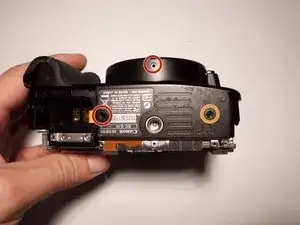
    • Remove the following screws from the bottom of the camera:

    • Two M3x4.5mm JIS #000 screws

    • One M3x3mm JIS #000 screw

  13. NLGkGMRINDQa36EI
    • Remove the following screws from the front of the camera:

    • Two M3x6mm JIS #000 screws

  14. rvIGB1A12pta5w2Z
    • Gently pry off the front casing.

    • There are no ribbon cables to remove for this portion of the disassembly.

    You forgot to mention removing the 2 screws just above the lens mount on the front.

    3cinema com -

  15. 4iVCSwUoqVEK4u5Y
    • Remove the two 3mm Phillips #000 screws behind the grip

  16. AG2UvITYEQFgOYHb
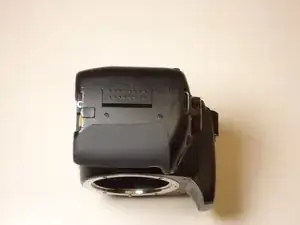
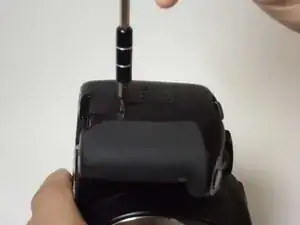
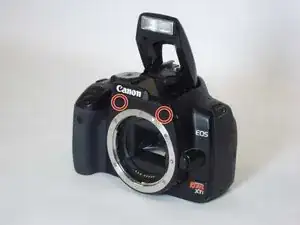
    • Remove the grip from the front casing by simply pulling on it and releasing the pins which hold it in place.

    • Be careful not to break any clips or rip the rubber while removing the grip.

Conclusion

To reassemble your device, follow these instructions in reverse order.

Luis Calle

Member since: 30/08/15

416 Reputation

0 comments