Introduction
The motherboard is a crucial aspect to controlling the Ecovacs Deebot 900. Unfortunately, the motherboard is easily fried if the robot accidentally vacuums water and may need to be replaced. Use this guide to replace the motherboard in the Ecovacs Deebot 900.
-
-
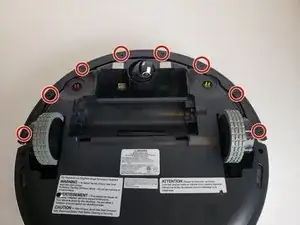
Using a Phillips #00 screwdriver, remove the eight screws on the bottom edge of the bumper.
-
-
-
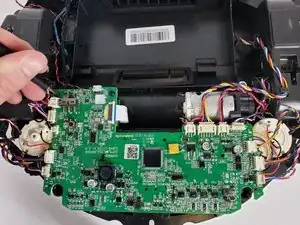
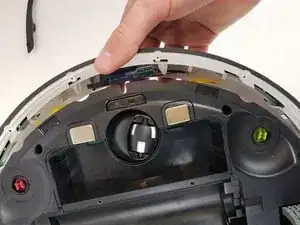
Disconnect the two cables connecting the bumper to the body of the Deebot.
-
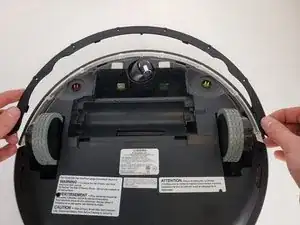
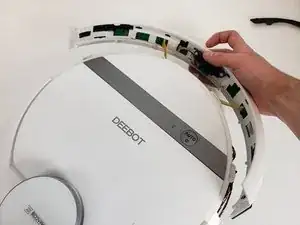
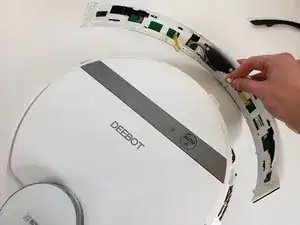
Remove the front bumper from the device.
-
-
-
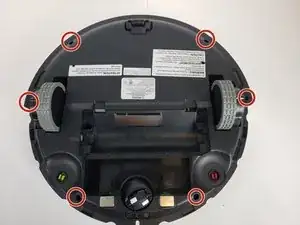
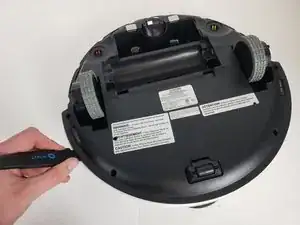
Using a Phillips #00 screwdriver, take out the six screws around the perimeter of the bottom case.
-
-
-
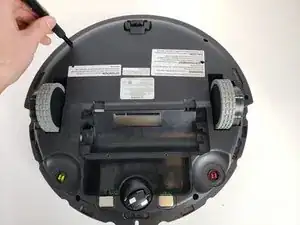
Insert a Jimmy into the seam and work all the way around the robot.
-
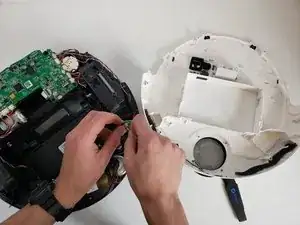
Disconnect the two cables and remove the bottom case from the device.
-
-
-
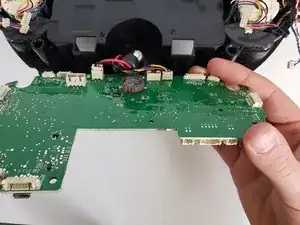
Using a Phillips #00 screwdriver, remove the two black screws holding the motherboard in place.
-


To reassemble your device, follow these instructions in reverse order.

3 comments
Any suggestions on purchase options?
vakum ozmo 900,hidup terus mati,lampu led juga mati,switch masih posisi on
If anyone is keen to see how to replace a motherboard on the Ecovacs Deebot Ozmo 950 (same for T5), here's a video guide on how I did it: https://youtu.be/jlsOlYYFl8k. If the link doesn't work, search YouTube for "Ecovacs Deebot 950 Stopped Working! How to replace MOTHERBOARD and make it work again!!". The motherboard replacement cost me $90 AUD from AliExpress. Basically, my Deebot 950 was no longer charging despite me installing a new battery replacement, and when I'd turn on the robot, it would back out of the charging dock and then simply turn off (deactivate), and there was nothing I could do. The motherboard is the problem. I replaced it myself and now it works like brand new again. Hopefully my video guide helps others. I was literally on the verge of throwing this cleaner into the rubbish thinking it no longer works.... but gave it one last attempt to fix and glad I did! :)