Introduction

  1. 3Syqkcb2wGcapvep
    3Syqkcb2wGcapvep
    OsYONCGgQgUqIlSb
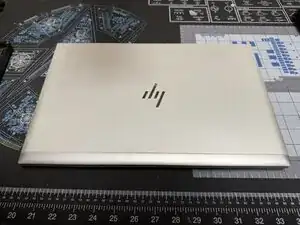
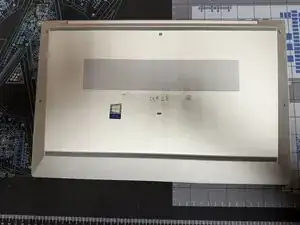
    • To start flip the device so the bottom is facing up

  2. ePnWIIkwgmRj3PwF
    ePnWIIkwgmRj3PwF
    HSRuOo63gVGx2Bor
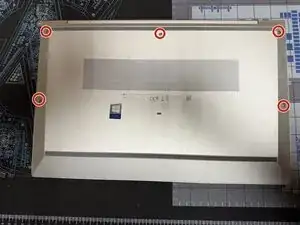
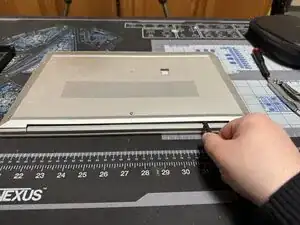
    • Unscrew the 5 marked captive screws with a Phillips #1 and flip the device so the hinge is faced towards you

    • Slide a spudger under the shell to pop the clips and run it around the perimeter of the shell until you can remove it.

  3. TbPJyEopwnLAapWX
    TbPJyEopwnLAapWX
    5qHEX4xS2WWJIq4Z
    GaqEmbJEs6QVdDrJ
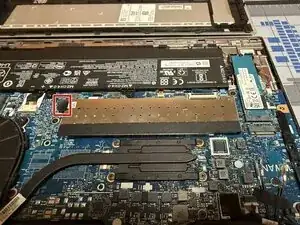
    • Lift directly up on the marked tab to remove the shielding

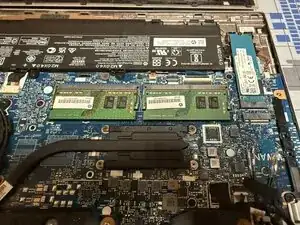
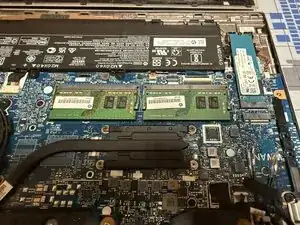
    • The RAM is now exposed.

    • When reassembling make sure to realign the sides of the shielding with the clips on the motherboard

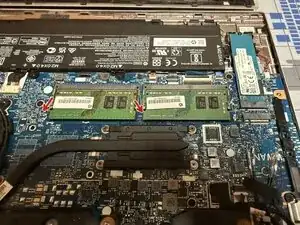
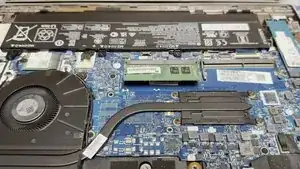
  4. The new RAM can be inserted and clipped down as shown.
    • The new RAM can be inserted and clipped down as shown.

    • For reference the 850 G7 uses DDR4 SODIMMs

Conclusion

To reassemble your device, follow these instructions in reverse order.
Caleb Pierce

Member since: 19/04/22

554 Reputation

0 comments