Introduction
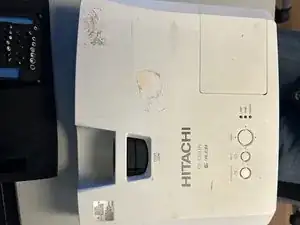
This guide explains how to remove and replace the motherboard of a Hitachi CP-X2011N projector if you are experiencing technical issues. If the projector shuts down by itself or exhibits glitches, the motherboard could be the source of the problem. The motherboard is responsible for running all tasks, as it acts like a computer to manage the projector's functions. This guide should be completed in 4 to 8 minutes. Ensure that the projector is turned off before starting the replacement process.
-
-
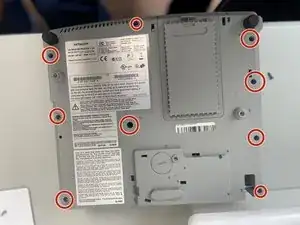
Orient the projector with the underside facing up and remove all nine 11.5 mm screws with a Phillips #00 screwdriver.
-
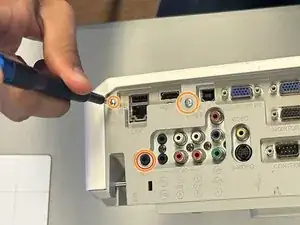
On the outlet area on the rear of the device, remove all three 11.5 mm screws with a Phillips #00 screwdriver.
-
Carefully remove the cover using your hands.
-
-
-
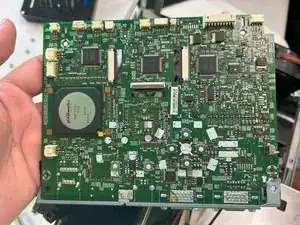
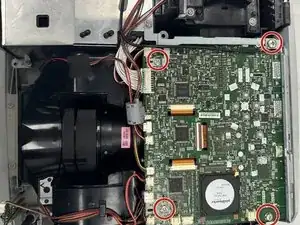
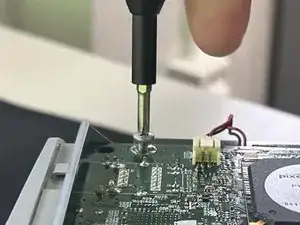
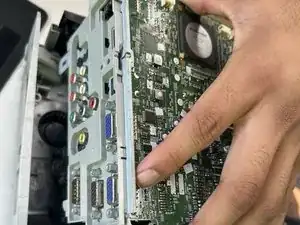
Remove all four 10.47 mm screws holding the motherboard in place with a Phillips #00 screwdriver.
-
-
-
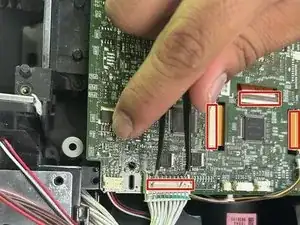
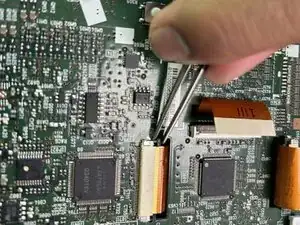
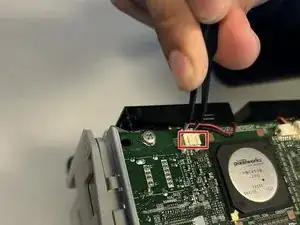
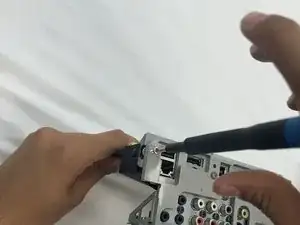
Carefully disconnect all seven ribbon cables and wire connections from the motherboard using tweezers.
-
-
-
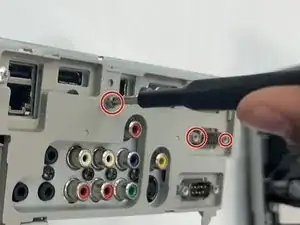
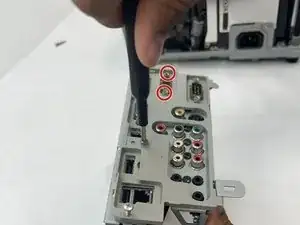
Remove all jack standoff screws to detach the ports from the cover using a Phillips #00 screwdriver.
-


To reassemble your device, follow the above steps in reverse order.
Take your e-waste to an R2 or e-Stewards certified recycler.
Repair didn’t go as planned? Try some basic troubleshooting or ask our Answers community for help.