Introduction
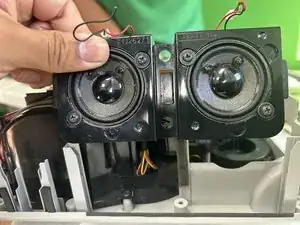
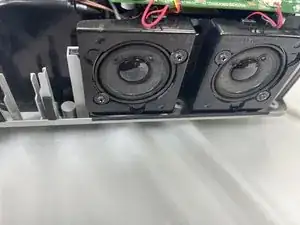
We are replacing the speakers on the Hitachi CP-X2011N because the original speakers can sometimes get damaged when the volume is set too high. Additionally, if the built-in speakers are producing poor sound quality—such as distorted audio, low volume, or a lack of bass—they may need to be replaced.
-
-
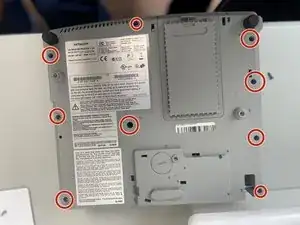
Orient the projector with the underside facing up and remove all nine 11.5 mm screws with a Phillips #00 screwdriver.
-
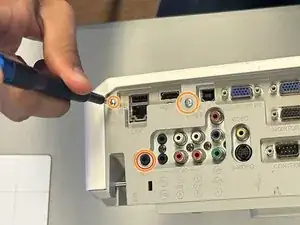
On the outlet area on the rear of the device, remove all three 11.5 mm screws with a Phillips #00 screwdriver.
-
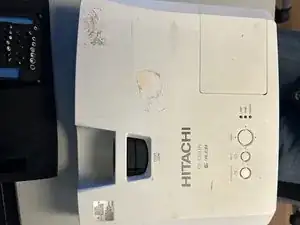
Carefully remove the cover using your hands.
-
-
-
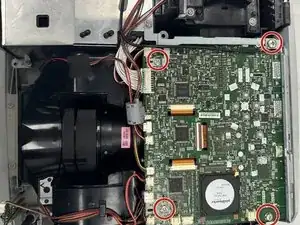
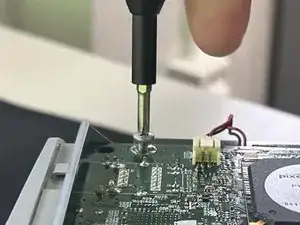
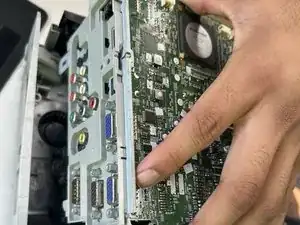
Remove all four 10.47 mm screws holding the motherboard in place with a Phillips #00 screwdriver.
-
-
-
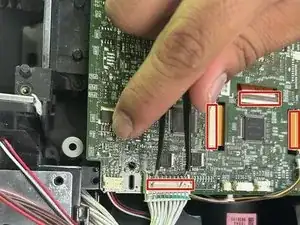
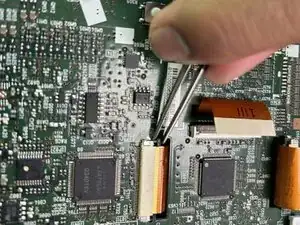
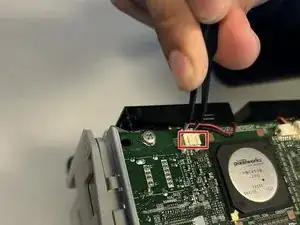
Carefully disconnect all seven ribbon cables and wire connections from the motherboard using tweezers.
-
-
-
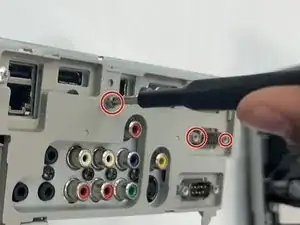
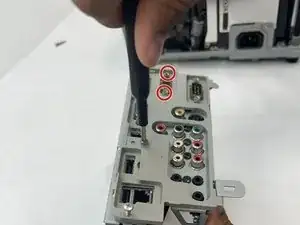
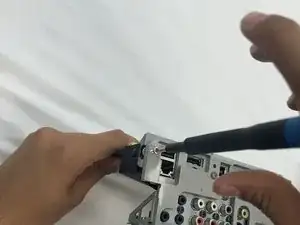
Remove all jack standoff screws to detach the ports from the cover using a Phillips #00 screwdriver.
-


To reassemble your device, follow the above steps in reverse order.
Take your e-waste to an R2 or e-Stewards certified recycler.
Repair didn’t go as planned? Try some basic troubleshooting or ask our Answers community for help.