Introduction
This guide will show you how to disassemble the projector acting as a supplemental guide for the other replacement guides for this device. Many of the parts that may need replacing in the projector require the device to be disassembled.
Before beginning disassembly, be sure the projector is unplugged from any outlets.
-
-
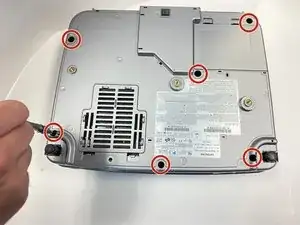
Turn the projector upside down so the bottom is facing up.
-
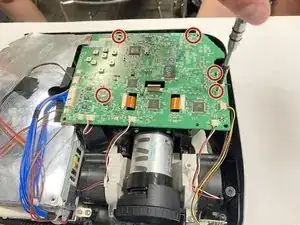
Using a Phillips #1 screwdriver remove the 6 black 2cm screws.
-
-
-
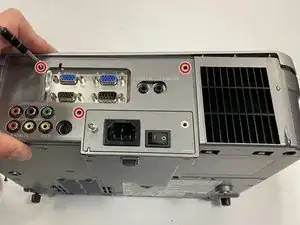
Flip the projector right-side up and navigate to the back panel.
-
Remove the 3 black, 1 cm screws on the back panel with a Phillips #1 Screwdriver.
-
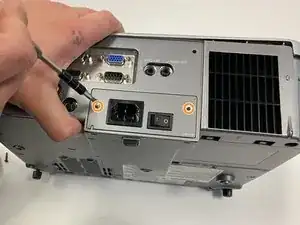
Remove the two silver 1 cm screws on the power switch panel with a Phillips #1 Screwdriver.
-
-
-
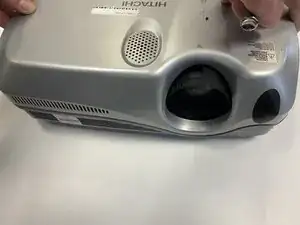
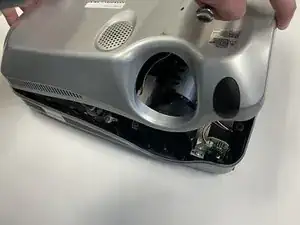
Now turn the projector so the front is facing you.
-
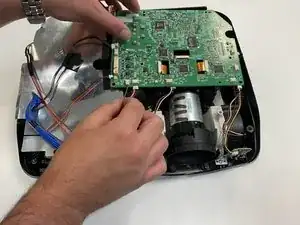
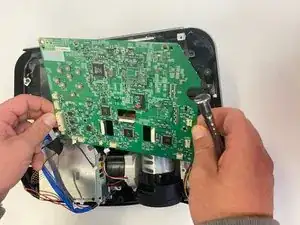
Gently remove the lid from the bottom of the projector so the green circuit board is exposed.
-

To reassemble your device, follow these instructions in reverse order.