Introduction

Wallpaper can add warmth and style to any room, but its seams may lift or bubble over time. This can happen due to changes in humidity, temperature, or even mistakes during installation.

This guide will walk you through a simple, step-by-step process to fix loose wallpaper seams, helping you restore both the appearance and strength of your wallpaper. With the right tools and patience, you can repair it like a pro and give your space a fresh, updated look.

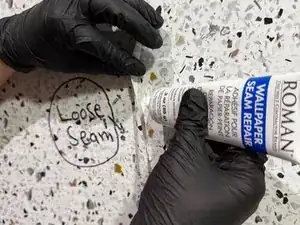
When working with wallpaper adhesive, it's important to ventilate the room and use a mask to avoid breathing potentially toxic fumes.

  1. NDcbBphj6sSWERqu
    NDcbBphj6sSWERqu
    JHUQZEfhuhCYSp5a
    • Use a putty knife to gently lift the loose seam of the wallpaper.

    • Aim to lift just enough to apply the adhesive underneath.

    • Take care not to damage the surrounding wallpaper or the wall itself.

  2. mVqYGyY6rokXeQ5X
    mVqYGyY6rokXeQ5X
    3wqLXVHsREohSqRD
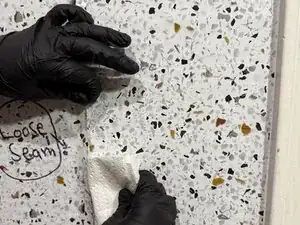
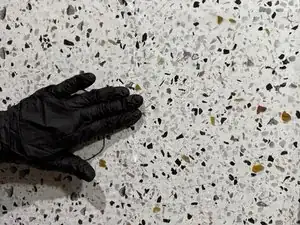
    • Before making any repairs, ensure the area around the loose seam is clean.

    • Wipe away any dust, dirt, or debris with a dry cloth.

    • This step will help the adhesive bond more effectively and ensure a smoother repair.

    • Double-check that the area is completely dry before applying adhesive.

  3. snIoCRjtPhoLJcLv
    snIoCRjtPhoLJcLv
    higm3rT2vAQfJ3FW
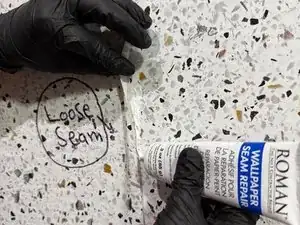
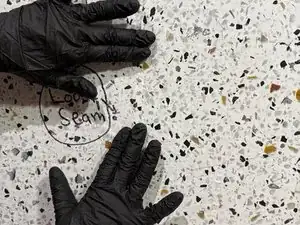
    • Carefully apply a thin layer of wallpaper adhesive beneath the lifted seam.

    • A thin adhesive layer prevents excess from seeping when pressed on the seam.

    • Cover the entire area you will reattach, ensuring an even distribution for a strong bond.

  4. KysAXhpDARwqe3wj
    KysAXhpDARwqe3wj
    U5UA1WgaDPinDsoP
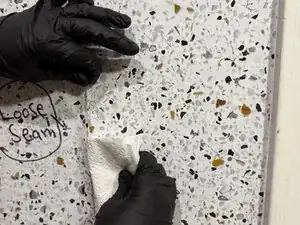
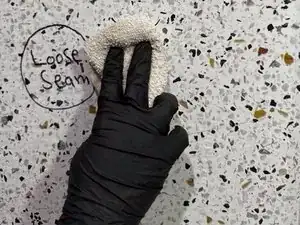
    • Start at the center of the seam, pressing it down firmly, and then work your way outward to ensure a smooth and secure bond.

    • This technique helps eliminate air bubbles and ensures that the seam adheres thoroughly.

    • Use your hand or putty knife to smooth it out and secure it.

  5. eGPqPV5UIgY4n656
    eGPqPV5UIgY4n656
    LXsMlvNsCE4GA2Jv
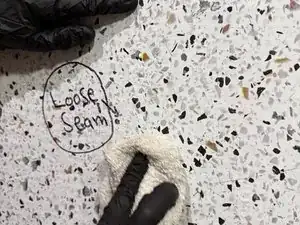
    • Use a clean, damp cloth or sponge to wipe away any excess adhesive that has squeezed out from under the seam and clean the area.

    • Cleaning up the excess adhesive ensures a neat appearance and prevents unsightly residue.

  6. UIA2KCSR6Lg2u5eR
    • Follow the adhesive manufacturer’s instructions regarding drying time.

    • Do not touch or disturb the area until the adhesive fully sets.

    • Improper drying time may result in a weak bond, compromising the strength and durability of the adhesive.

Conclusion

To reassemble your device, follow these instructions in reverse order.

Rana Aldahash

Member since: 17/10/24

163 Reputation

0 comments