Introduction
Welcome! Today, we're diving into the world of household fixes, focusing on a common issue many encounter: repairing a loose modern gooseneck water faucet.
Whether you're a seasoned DIY enthusiast or a newcomer to home maintenance, fear not! We'll guide you through step-by-step, empowering you to reclaim the functionality and elegance of your water fixture with ease. So, grab your tools, and let's embark on this journey to restore both the form and function of your space.
-
-
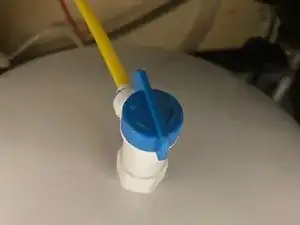
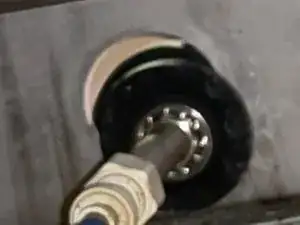
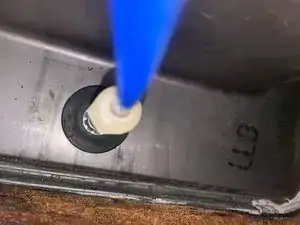
On the bottom of the sink, you will see a water tank.
-
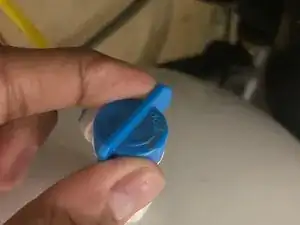
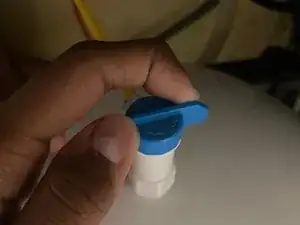
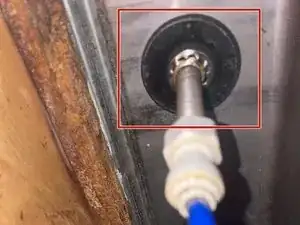
The next step is to close the vault. Slowly turn the vault to the right side.
-
-
-
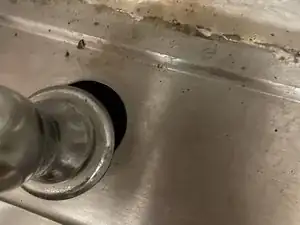
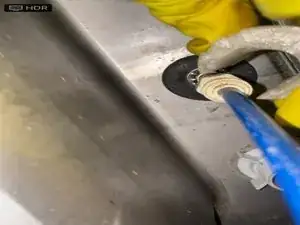
Due to the loose neck, water is leaking from the sink.
-
The leakage can cause damage in the future, so, it is necessary to tighten the loose neck of the water dispenser.
-
-
-
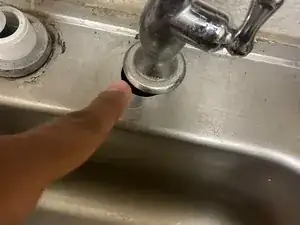
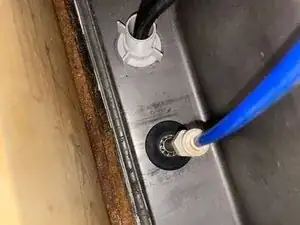
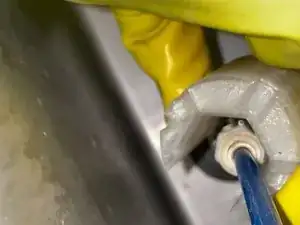
Readjust the pipe to the way it was originally.
-
Make sure the realignment is properly done and that there are no gaps in it.
-
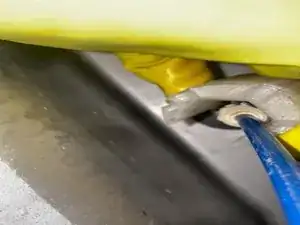
After, check the realignment from all sides so there are no places from where it can leak.
-
To reassemble your device, follow these instructions in reverse order.