Introduction

  1. 6BOM56kcY5H4IXqa
    6BOM56kcY5H4IXqa
    4PBoUaDR6lBaEKoN
    DsDtOeB2DTFlTuww
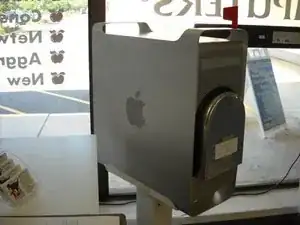
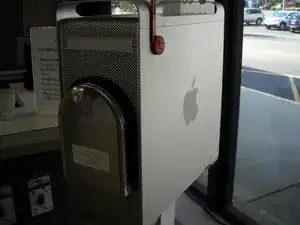
    • The Making of a Power Mac g5 Mailbox

  2. t6khMIhgXU1XBkbQ
    t6khMIhgXU1XBkbQ
    AGxi6Xwu6ZGkkrMc
    e4aw2dOH1ZZtcLmD
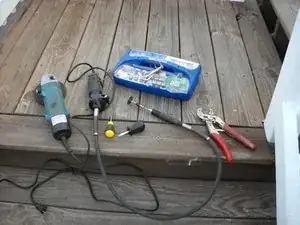
    • Tools Needed

  3. JUnKWxFylgJWgpXM
    JUnKWxFylgJWgpXM
    fIOBcmTaPvyJDu32
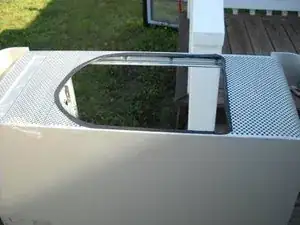
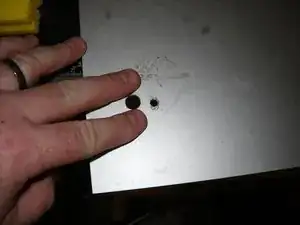
    • Mark where you are going to have to cut

  4. VIJxWCPitUXeOMAF
    VIJxWCPitUXeOMAF
    KmHbQgomGCACMAKO
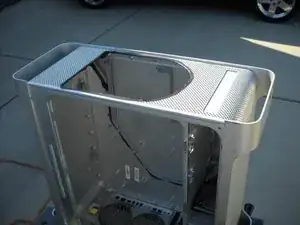
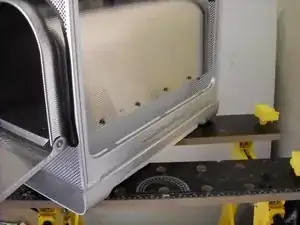
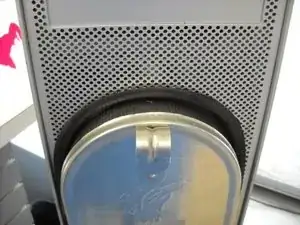
    • Cut a hole big enough to slide the mailbox into the case

  5. 1CgcsWXsXSXytOer
    1CgcsWXsXSXytOer
    TbgLQVMSeElCZbuK
    wG3AxUyrALANcCuC
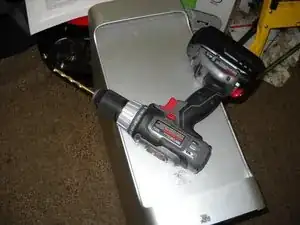
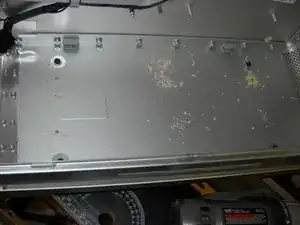
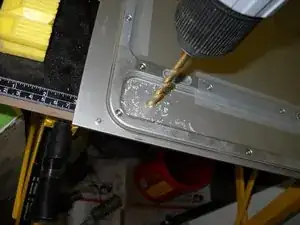
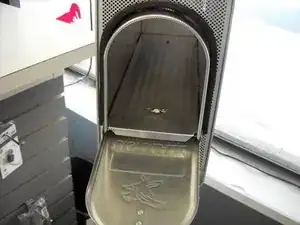
    • Drill 4 holes through the bottom of the case and put wood underneath the case and screw the wood pieces to the bottom of the mailbox. Put a piece of wood under the mailbox to have something to screw it to. You may have to drill more holes to screw the boards together with long screws.

  6. LdqhwStWMkFDSJAo
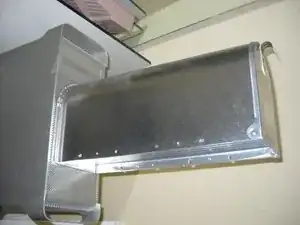
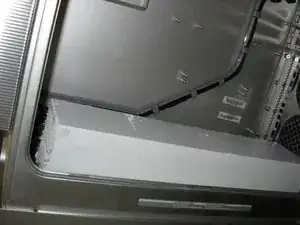
    • Slide in the mailbox and then put screws into the side of the mailbox going into the wood underneath.

  7. aNRhaAKWqHJaToWx
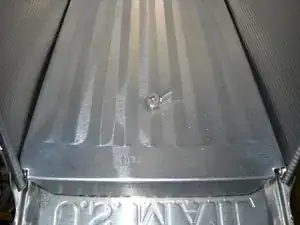
    • Put a screw in the front and back of the inside of the mailbox.

  8. Th12FwqHPGnR465X
    Th12FwqHPGnR465X
    EfqSPdaUBSKtdxMU
    wgJIkwVTGOJfrwpj
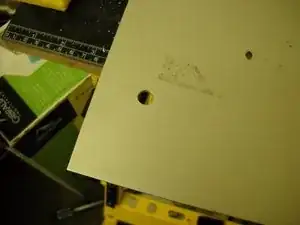
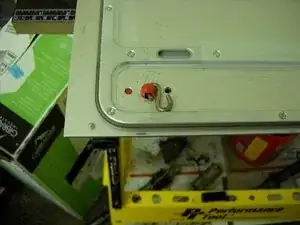
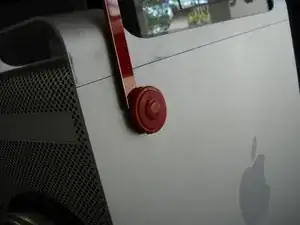
    • Using the flag as a guide to where to drill the holes. Mark a spot for a hole for the flag to go through in the door of the case. Then drill holes accordingly.

  9. uVJLTNskNmEeTKGG
    uVJLTNskNmEeTKGG
    pWGpZdrUp6MUvnsM
    • Insert an S hook and use pliers to close the S hook around the plastic connector to hold the flag on.

  10. XLDnUQuMLRa665Ix
    XLDnUQuMLRa665Ix
    UfPkgePZA2qAyiSg
    gdGpZN16W6FWhygV
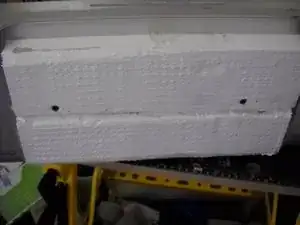
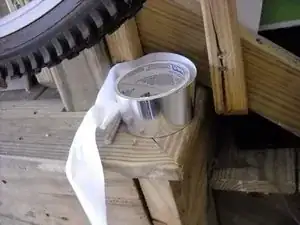
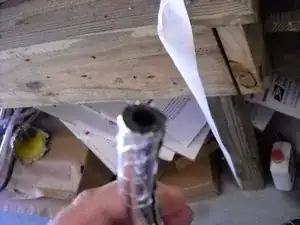
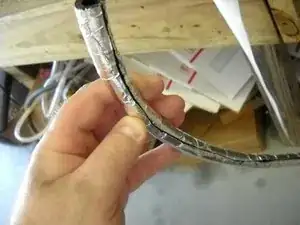
    • Take a rubber fuel line and wrap it in silver hvac tape and slit the hose down the middle to make a seal to fill in the gaps between the mailbox. The silver tape is optional.

  11. yUaNePUExAub4oU3
    yUaNePUExAub4oU3
    2HGZMXPRSQh3iCa5
    • Use the silver tape to cover the screw heads inside of the mailbox.

  12. FGXkH2nfrLLmkSb5
    FGXkH2nfrLLmkSb5
    R1FKJPbDqGpMrlRS
    qfAcHAMFpCNPlJo6
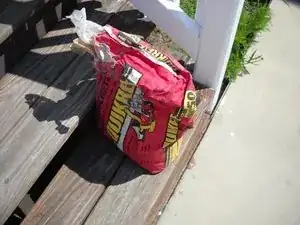
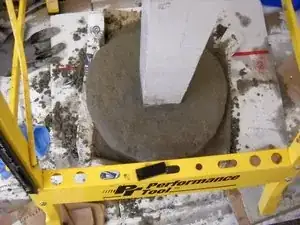
    • Take a flower pot and cut a hole in it to make a concrete base (optional) Mix the quickcrete up and fill the flower pot with it and flip it over and stick the wood pole in the concrete.

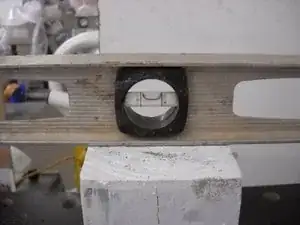
    • Use a level and something to hold the wood in a level position while it dries

  13. 5sPYEShTdEtojZNQ
    5sPYEShTdEtojZNQ
    MoTSZVoO2qCf4DrN
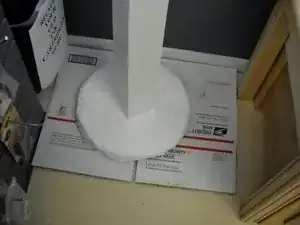
    • Paint the wood pole and the concrete white.

  14. 3uQDPatXGNNUBKb4
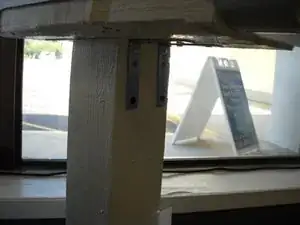
    • Using L metal brackets screw the mailbox to the pole.

  15. nKM3FcWBFSSpMKro
    nKM3FcWBFSSpMKro
    dVVorCV2CWABYK21
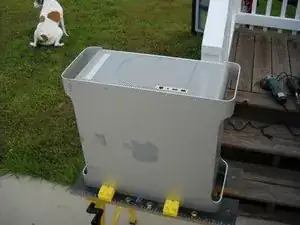
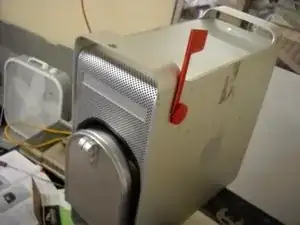
    • Put the side panel with the flag back on and you should have finished mail box ready to be buried or in this case used as a self standing mailbox.

Conclusion

By the end of this guide you should have yourself a Mac Mailbox.

joe

Member since: 31/12/13

3332 Reputation

0 comments