Introduction
Is the screen on your Kodak EasyShare C913's LCD screen cloudy, scratched, or displaying distorted images? This guide is made to help walk you through the process of removing the damaged screen and installing a replacement safley.
Rememeber this requirees steady hands and a moderate skill level.
There will be some tools needed to get you through this guide:
- Small Phillips Head Screwdriver
- Plastic Opening Tool or Spudger
- Replacement LCD Screen (compatible with Kodak EasyShare C913)
- Optional: antistatic wrist strap.
-
-
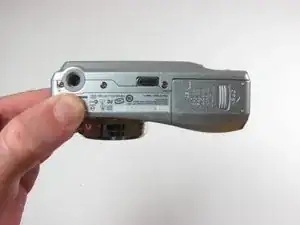
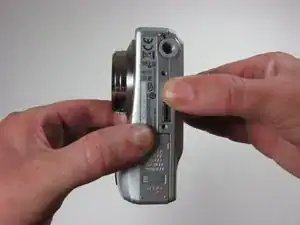
Position the camera with the bottom facing up.
-
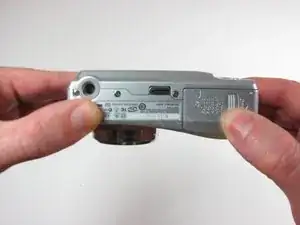
Slide the battery cover in the direction of the arrow with your finger gently.
-
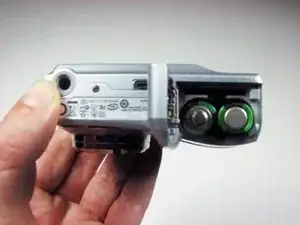
Remove the batteries
-
-
-
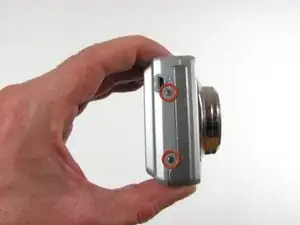
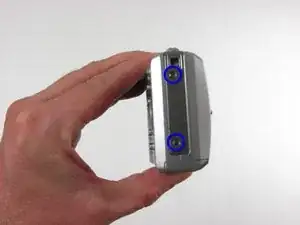
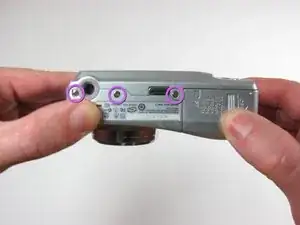
Remove the seven 4.5mm screws with a Phillips #00 screwdriver.
-
2 on the left
-
2 on the right
-
3 on the bottom
-
-
-
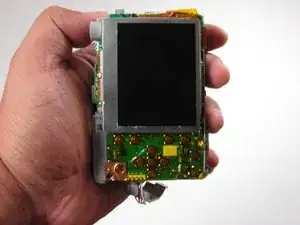
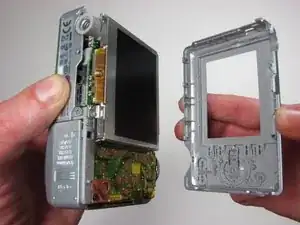
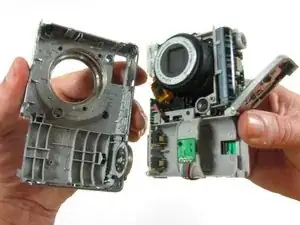
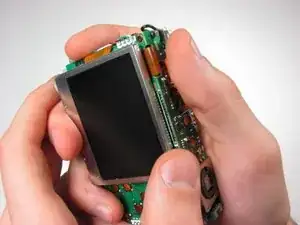
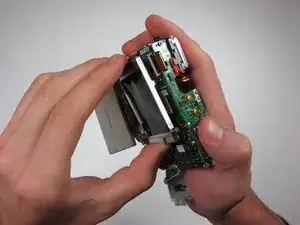
Looking at the LCD casing, you should find two smaller solder joints. There will be one on either side of the camera whoch secure the casing to the circuit board. These are usually shiny and metallic points where the casing connects to the board.
-
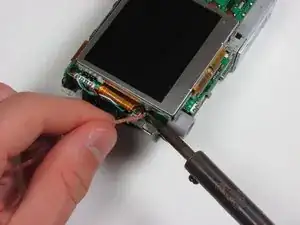
Apply the tip of the heated smolder to the first joint to remove it. Contiune with the other side.
-
-
-
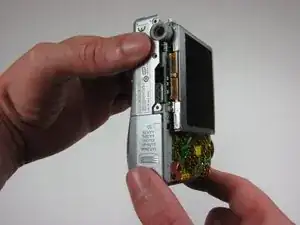
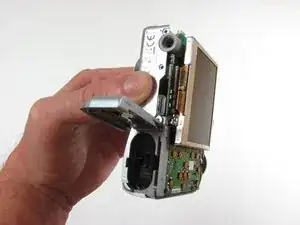
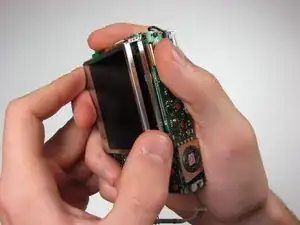
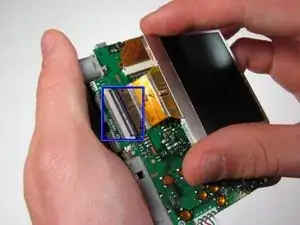
Gently grasp the lower right side of LCD screen.
-
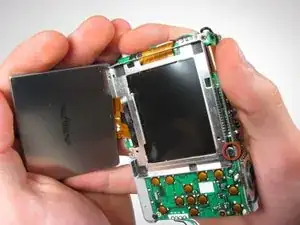
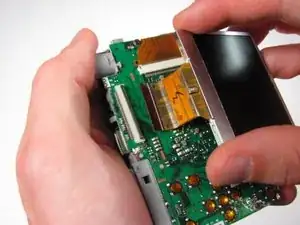
Lift the screen out of its casing.
-
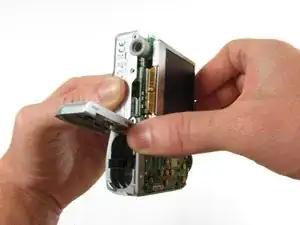
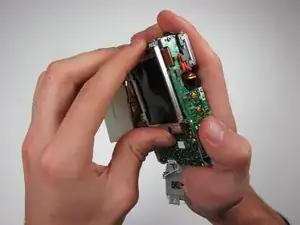
Remove screw from LCD casing using screwdriver.
-

To reassemble your device, follow these instructions in reverse order.