Introduction

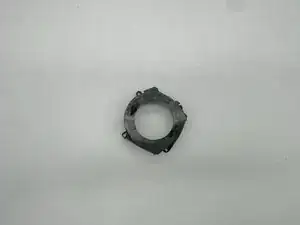
If you notice handling issues with the fan casing of your Milwaukee (6130-33), use this guide. You'll need a TR10 and TR20 screwdriver to replace the casing parts.

The fan casing helps to reduce noise, stability and preventing overheating. Before accessing the casing follow the Safety Brush Springs guide in order to access the interior of the device.

Before replacing the casing, also check the interior once the fan casing is removed. Over time debris and other build up can be the cause of malfunctioning.

  1. aPstZiu14fuxbskI
    aPstZiu14fuxbskI
    1SlwD6SmV1mNGvPc
    mVTnFvTcDfjDcrEK
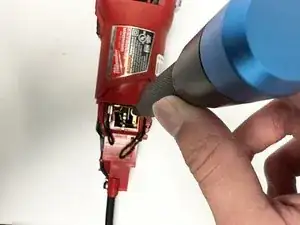
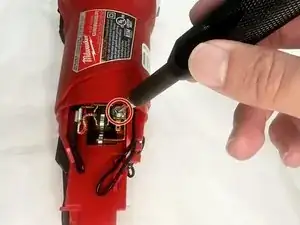
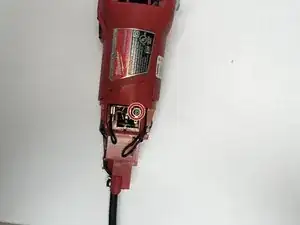
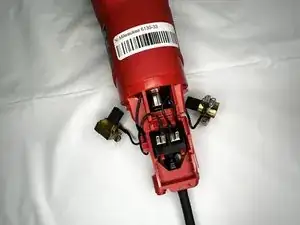
    • Remove both 3.5 mm TR10 Torx screws from the carbon brush locks.

    • Turn over the device and perform the same process on the opposite side.

  2. KYAGeLycgXCitnHE
    KYAGeLycgXCitnHE
    SXHbuVNS6KnAVo2l
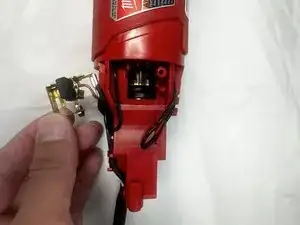
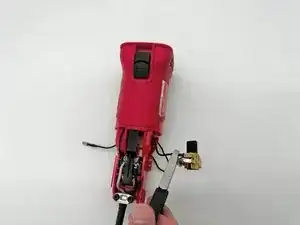
    • Remove both springs by pulling outwards from the rotor.

    • When removing, pull on the carbon casing to avoid harming both yourself and the device.

  3. AnKYYZHpGqaOgb56
    AnKYYZHpGqaOgb56
    gTqQAREsEweX3WPU
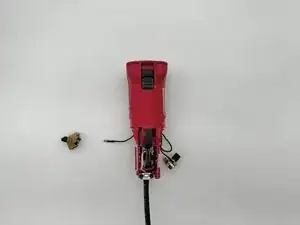
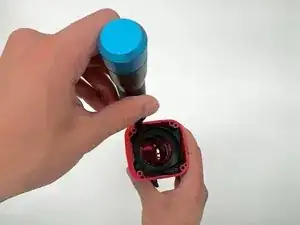
    • Using a pair of pliers, squeeze the black cord.

    • Remove by pulling the black wire attached to the brush casing.

  4. sZx3fE4VQ5jmPsG2
    sZx3fE4VQ5jmPsG2
    OsdyahSwqPKnLBUm
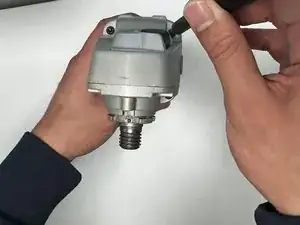
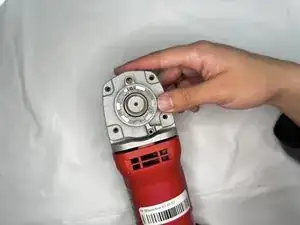
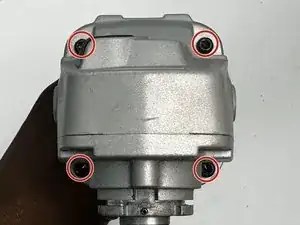
    • Remove the four 4 mm TR20 Torx screws from the gear casing.

  5. BddKmFPhmFWqEufy
    BddKmFPhmFWqEufy
    QfVgZggHKs4eFASN
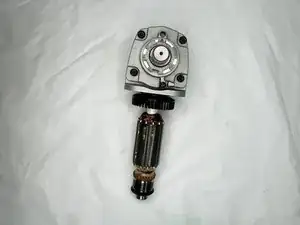
    • Remove the case head attached to the rotor by pulling it up and off.

  6. T5MCXTDhhd2HcrQe
    T5MCXTDhhd2HcrQe
    FcEXYMQF2TMnQEHW
    qItjOTZkT4wxbAeC
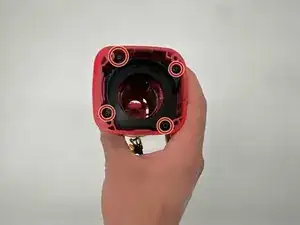
    • Remove the four 3.5 mm TR10 Torx screws from the fan casing.

    • Remove the fan casing to access the inside casing.

Conclusion

To reassemble your device, follow these instructions in reverse order.
Brandon Olguin

Member since: 28/08/24

509 Reputation

0 comments