Introduction

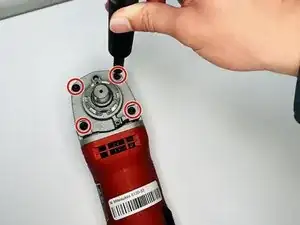
If your Milwaukee (6130-33) makes screeching or unusual noises, this guide will provide the steps to replace the gearing system. You will need a TR 20 screwdriver, a TR 10 6mm flathead screwdriver from the Mahi Driver Kit, and a metal spudger for access.

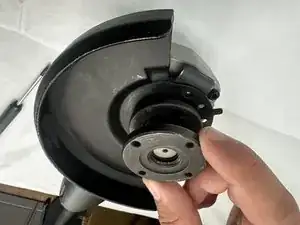
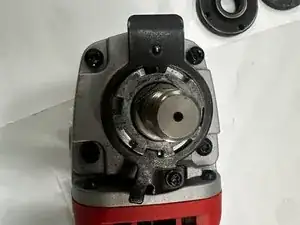
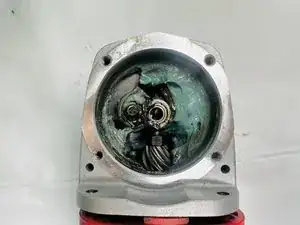
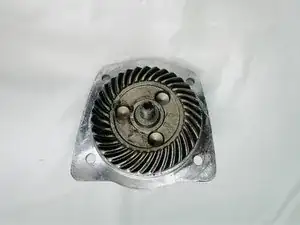
Once the gears are accessed, use a rag remove any slimy substance to inspect the interior and exterior of the gear system. Check for debris and build-up, as the gears are a common place for debris due to usage.

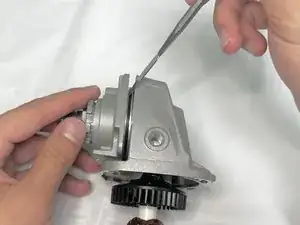
Along with checking the gear system, check that all screws are secured correctly. The interior of the casing is a part of the direct control to the Cut-Off Wheel functioning. Inspect both components thoroughly when testing before testing the device.

  1. LC1B6vVWENgxhHlH
    LC1B6vVWENgxhHlH
    PYLpxGq4OimNLgXA
    uUyRDIKQCTlWWlPB
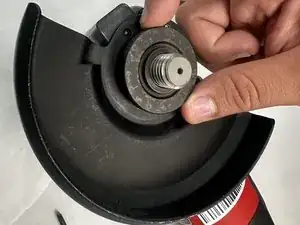
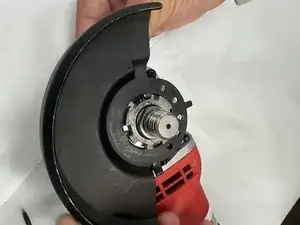
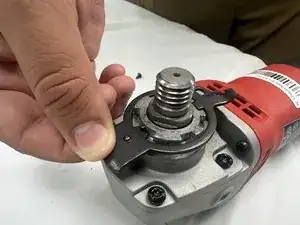
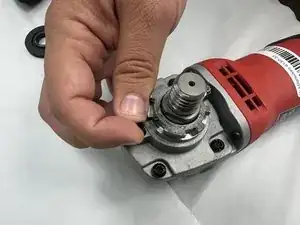
    • Position the cut-off wheel so that is facing upward.

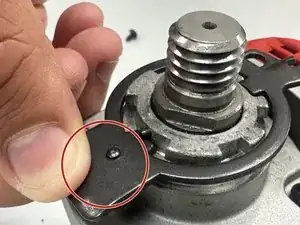
    • Remove the top flange nut by turning it counterclockwise.

    • If a disc replacement is necessary, you will find the disc located beneath the top flange nut.

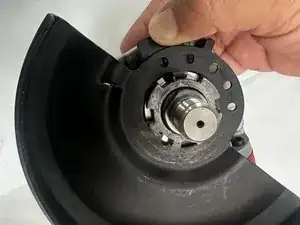
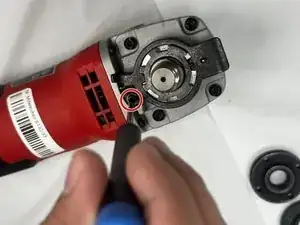
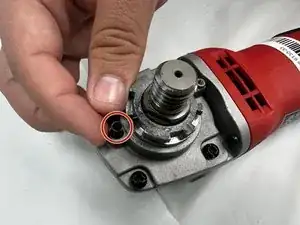
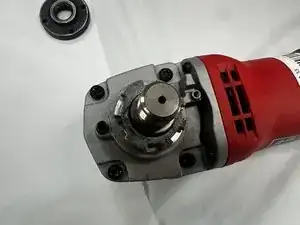
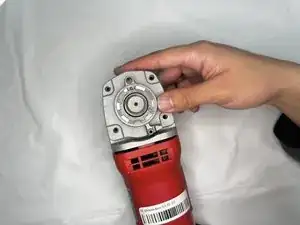
    • Pull the flange upward from the spindle to remove it.

  2. llYqvLBAAxLh4Gnk
    llYqvLBAAxLh4Gnk
    VB3Frnw6AdYtcWlA
    • Press down on the detent tab to release the guard lock.

    • Remove guard from detent tab.

    • Gently wiggle when remove from left to right before pulling up.

  3. RT3iDdOpYliUDLbN
    RT3iDdOpYliUDLbN
    rtUuI1Vq41GJVKog
    rvaPPBLQCm3VylSv
    • Remove the 3 mm Phillips #1 screw that secures the detent tab.

  4. sGyDj3UFJRKOohuu
    sGyDj3UFJRKOohuu
    EmGHGXVcvp1o4sO2
    • Push down on top of detent tab, then remove detent tab by pulling upwards.

  5. EyW21C1drwgT4HEs
    EyW21C1drwgT4HEs
    PkDLSu4GhhMNYfup
    XJwHB4KwmVPS3X3Q
    • Remove the spring between the two top corner screws.

  6. rcRuPmw6UZ62sgAg
    rcRuPmw6UZ62sgAg
    tEyaN3fuxR5MYrgc
    • Remove the four 6 mm flathead #6 screws from the gear cover.

  7. X3aZ4s4PadV2NYRx
    • Remove the casing using a scraper tool, pull up on each side to remove.

    • Applying excessive force can lead to accidents due to the sharp edges of the casing and tool

  8. gGgT1ZpbZaLu4AP5
    gGgT1ZpbZaLu4AP5
    LBqmMw26YVCApKGO
    • Remove the gear from the casing.

    • When removing the gear, the interior can be accessed for cleaning or inspection.

Conclusion

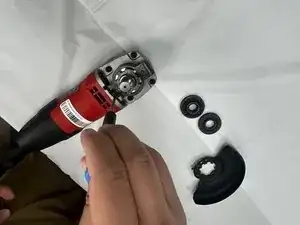
To reassemble your device, follow these instructions in reverse order.

@ZARIAB

Member since: 28/08/24

97 Reputation

0 comments