
Introduction
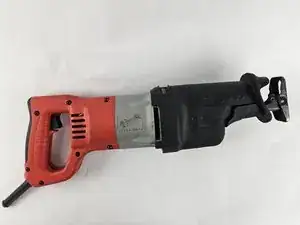
Use this guide to replace the trigger for the Milwaukee Sawzall 6520-21. The trigger is used to operate the saw.
This guide has a prerequisite needed for completion. The tools required are a screwdriver handle and two bits:
- Torx 20
- 1.5mm Flathead
If the power cord has been removed, no tools are required, and takes 2 minutes to finish.
-
-
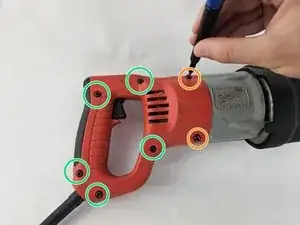
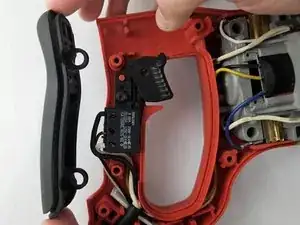
Unplug the Sawzall and Orient the right half-handle to face upwards.
-
With a T20 Torx screwdriver, remove the following screws:
-
7-18 x 1.125-inch Slt. Plastite T-20
-
8-16 x .625-inch Slt. Plastite T-20
-
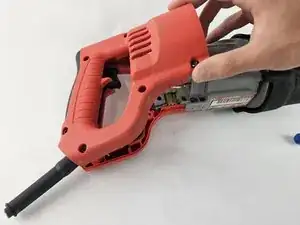
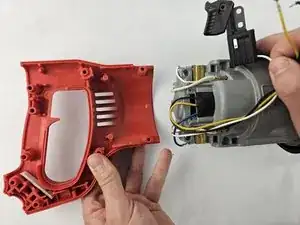
Lift the handle off.
-
-
-
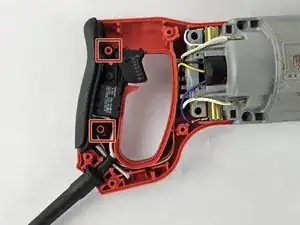
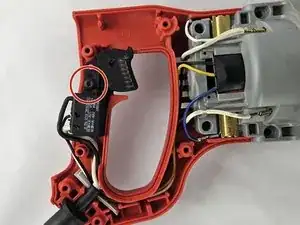
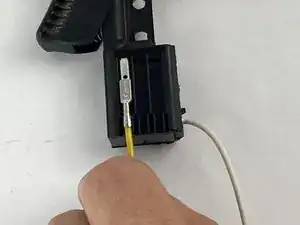
Take a 1.5mm flathead screwdriver and insert it into the pin lock above each of the wires:
-
Black wire: Insert it on the left side of the pin. Pull the wire while gently rotating it clockwise
-
Black wire: Insert it on the bottom side of the pin and gently rotate it counterclockwise
-
White wire: Insert it on the right of the pin and gently rotate it counterclockwise
-
-
-
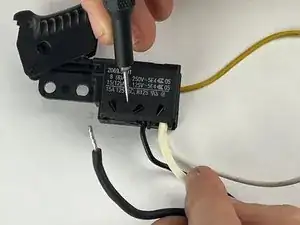
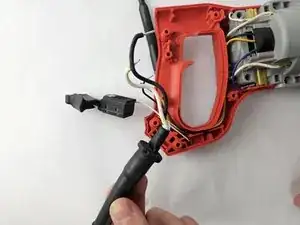
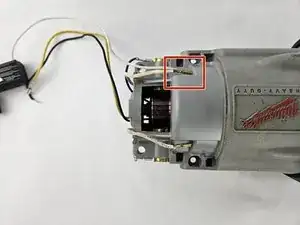
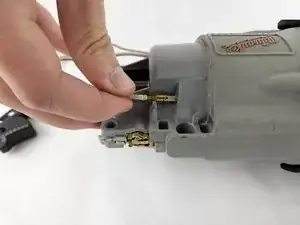
The trigger paired with the motor housing wire requires two removals.
-
Gently remove both white wires.
-


To reassemble your device, follow the above steps in reverse order.
Repair didn’t go as planned? Try some basic troubleshooting or ask our Answers community for help.
