
Introduction
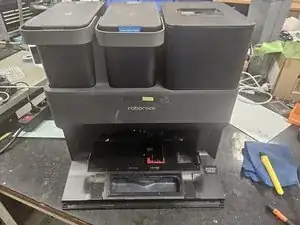
This guide will show you how to replace the suction fan of the dock unit of Roborock's robotic vacuum S7 MaxV Ultra.
I recommend reading the entire guide before starting the disassembly, then following steps as needed during.
-
-
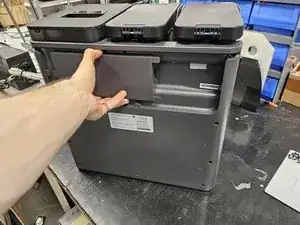
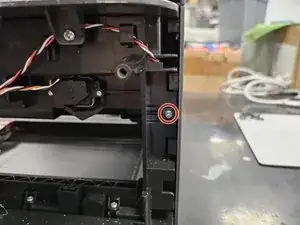
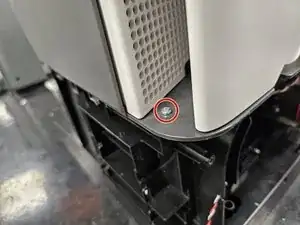
Remove the marked screw using a PH2 screwdriver.
-
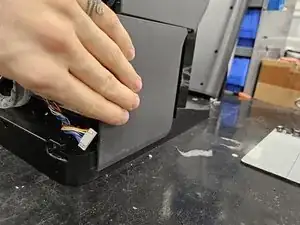
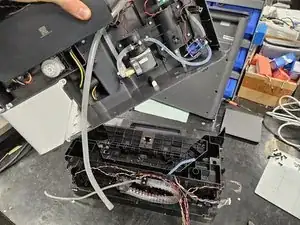
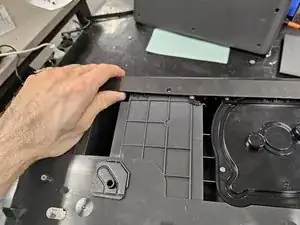
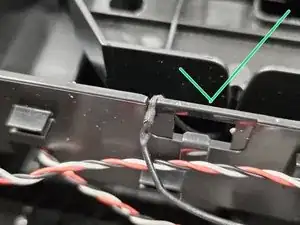
Push the side panel towards yourself.
-
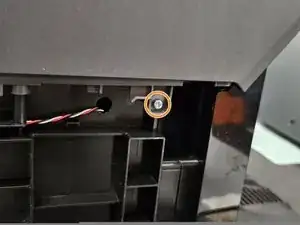
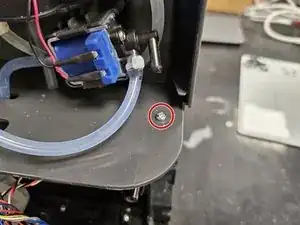
Remove the screw using a PH2 screwdriver.
-
-
-
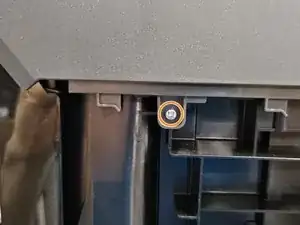
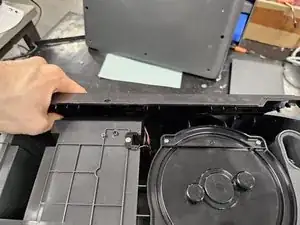
Remove the screw using a PH2 screwdriver, then slide the panel off.
-
Remove the screw using a PH2 screwdriver.
-
-
-
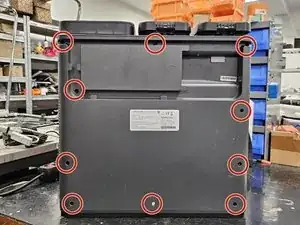
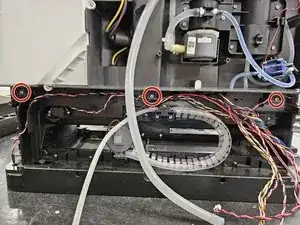
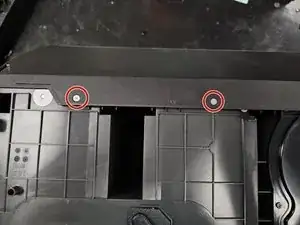
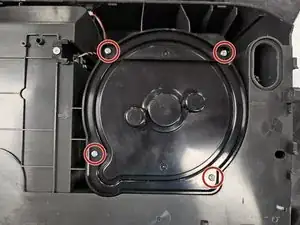
Remove the marked screws using a PH1 screwdriver.
-
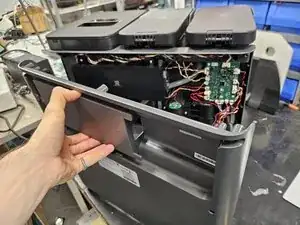
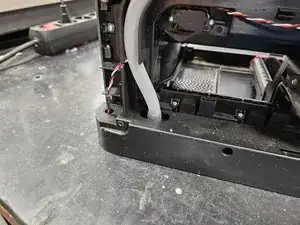
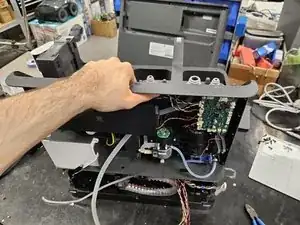
Pull the front cover off. It is still held in place by a couple latches.
-
-
-
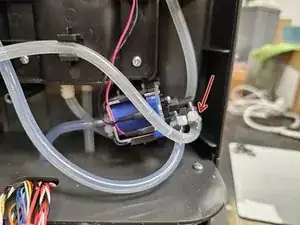
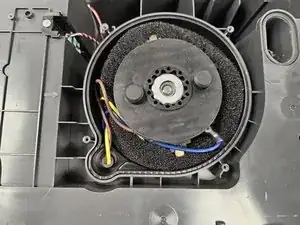
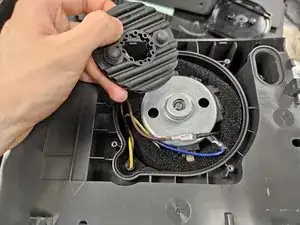
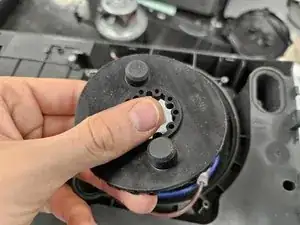
Remove the rubber cap.
-
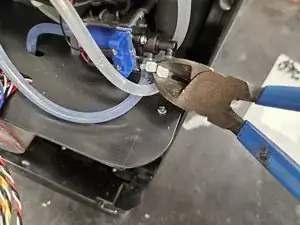
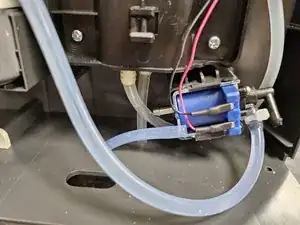
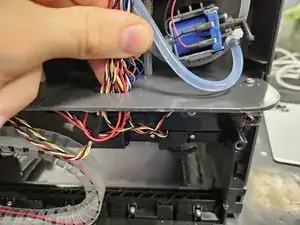
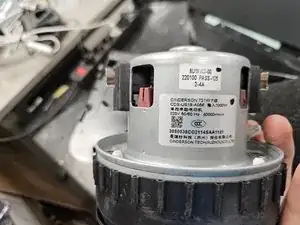
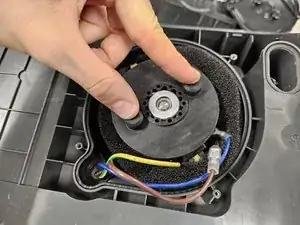
Take the suction fan out.
-
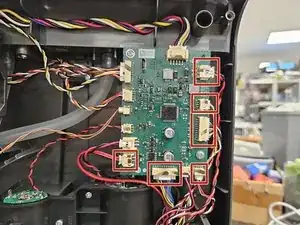
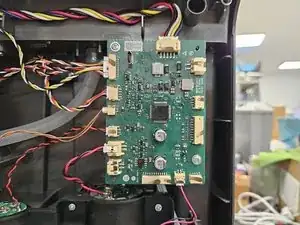
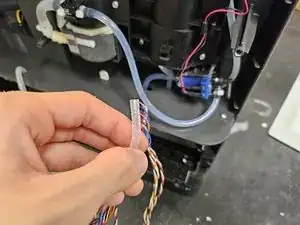
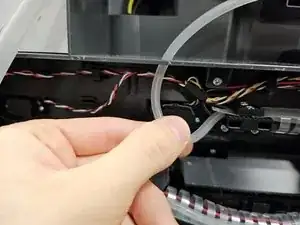
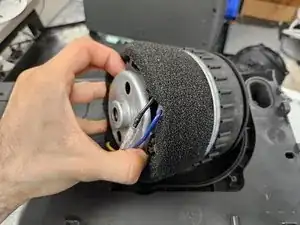
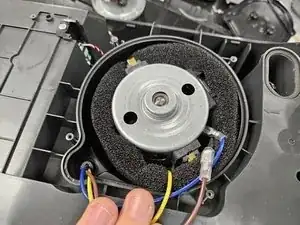
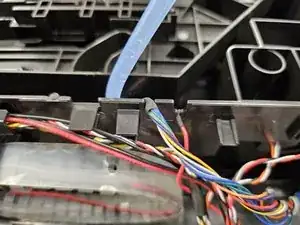
Pull the foam further down the wires to expose all the connectors, then disconnect those.
-
-
-
Connect the connectors on the new suction fan, then fit the foam over it.
-
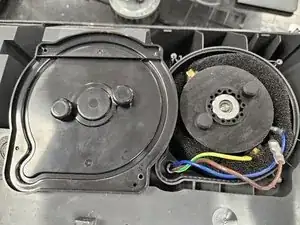
Place it back inside.
-
-
-
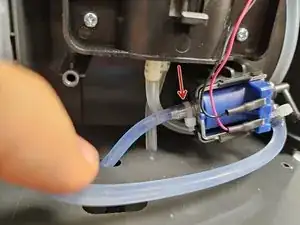
When fitting the rubber cap back on, ensure that the suction fan is properly positioned, so that the plastic cover will fit over it.
-
Once you've done that, reassemble your device.
-


To reassemble your device, follow these instructions in reverse order.

One comment
Thank you for this comprehensive guidance