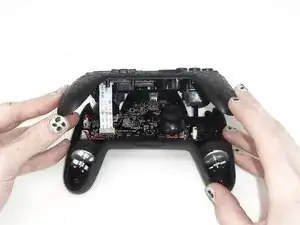
Introduction

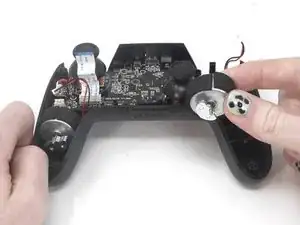
If the YCCTEAM YCC-SW4001's vibration feature is not working as expected, then follow this guide to replace the rumble motors.

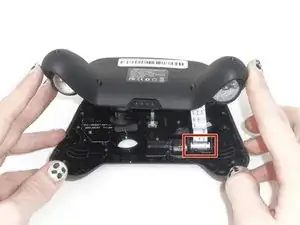
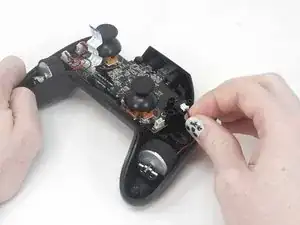
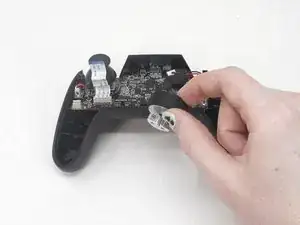
The vibration motors, otherwise known as rumble motors, are a feature of a controller that vibrates after a certain condition in a game. This condition is different in each game.

  1. ngdvO1ZITkwfT1R2
    • Use a Phillips screwdriver to remove the eight 9.15 mm screws that secure the rear case.

  2. 6tTL32ZcQEW1lDXR
    6tTL32ZcQEW1lDXR
    jERbIGopXQnXRfnJ
    LfSm3TgWyVSFIJgt
    • Use an opening pick to pry the back cover off of the controller.

  3. Il2gdVMC5L1wHZsk
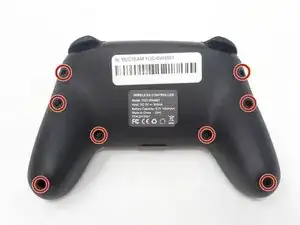
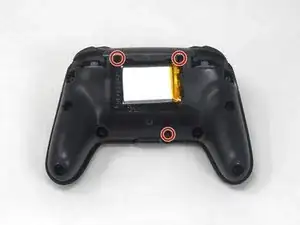
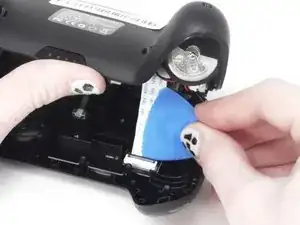
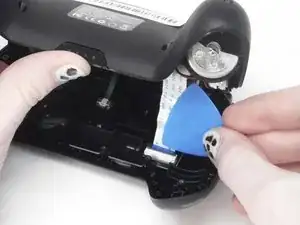
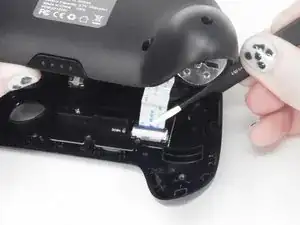
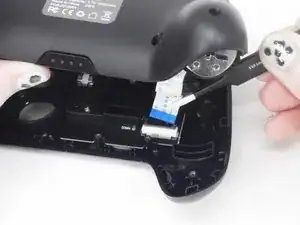
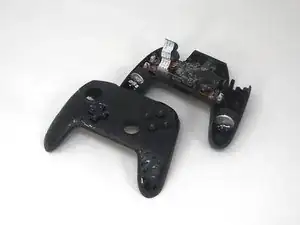
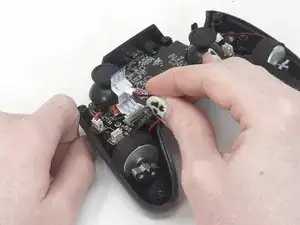
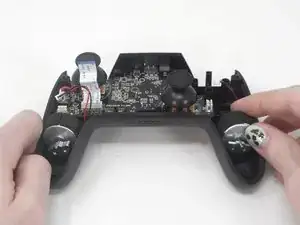
    • Use a Phillips screwdriver to remove the three 9.15 mm screws from the back of the controller.

  4. nODc5iMbW3gCCqFM
    nODc5iMbW3gCCqFM
    1A5lNfOsdeR15ACA
    NyVsbNoueFmUlM4Y
    • Slightly lift the front case.

    • Do not remove the front cover completely; it is still attached to the motherboard by a white ribbon cable.

  5. PtvsNhcDONldYhtf
    PtvsNhcDONldYhtf
    6EenHVPCcqYLui5I
    HX1CwAKd6HkVIqYv
    • Use the tip of the opening pick to flip up the black locking flap of the ZIF connector.

    • The black flap holds the white ribbon cable in place.

  6. usdRBfUwDZKPH6Jo
    usdRBfUwDZKPH6Jo
    NHKOphBIgYJLgLmk
    • Use tweezers to disconnect the white ribbon cable from the ZIF connector.

  7. LMoGY2poIJsYn6qa
    • Remove the front case.

  8. be6f5la1hYpOhRYb
    be6f5la1hYpOhRYb
    FxePjTiT1bNYC32Y
    ljOJ1kEjMW1R6Wkc
    • On the front side, disconnect the two vibration motor motherboard connectors.

    • Do not pull on the wires.

    • When replacing the rumble motors, press each plug down into its socket until it snaps into place.

  9. YctmM1dB322LtJBc
    YctmM1dB322LtJBc
    yVukHmWXYC2c3jrf
    dVOTgQkGenmErMyC
    • Remove the rumble motors from the controller grips.

Conclusion

To reassemble your device, follow these instructions in reverse order.

David Adaway

Member since: 16/02/24

537 Reputation

0 comments