Introduction

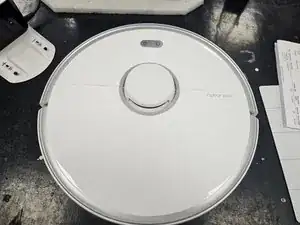
This is just a general teardown guide for the robotic vacuum cleaner Roborock S5 Max.

  1. nQnFUJUaXtQ2PFNc
    nQnFUJUaXtQ2PFNc
    3OnnWTlTEHZyOZZc
    bf1UMhbxLD6I44jp
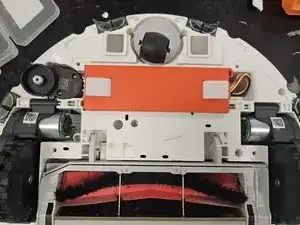
    • Remove the front half. It is only held on by latches.

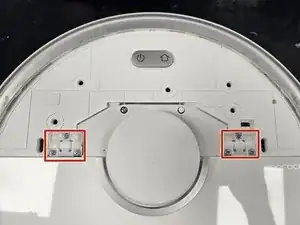
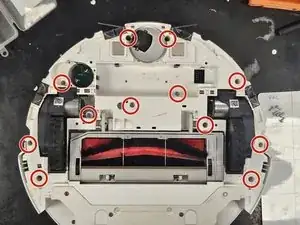
    • Remove the screws and plastic tabs holding the back half in place.

    • Remove the back half.

    How to remove the front half with the latches?

    Matti Kucer -

    You grab it at the front or sides and pull it off. The latches aren't super strong, and have some flexibility to them, so you're unlikely to break them.

    DegenFixer -

  2. iptPpOel2K2gjbep
    iptPpOel2K2gjbep
    LVbVTfSX3vBb31NC
    • Remove the rubber caps.

    • There are multiple techniques to do this, but I usually just stab them with sharp tipped tweezers. You could slip them in between the housing and the rubber cap as well.

  3. vghIW2AHAdQZRSMS
    vghIW2AHAdQZRSMS
    4qYDH3iUNihtIUhy
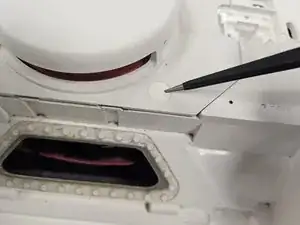
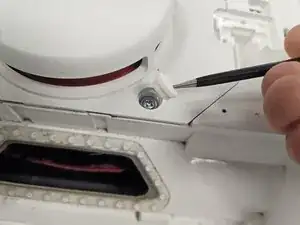
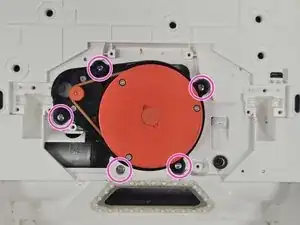
    • Remove the screws of the LiDAR cage, then the cage itself.

    • Remove the screws of the LiDAR, then the LiDAR itself.

  4. GdEyKDxWCyWZcma1
    GdEyKDxWCyWZcma1
    4oaRoSUMJrHNcEfv
    • When'd they start selling these?

  5. nfsQgRPJHejP24ii
    • Remove the side brush.

    • Remove the screws.

    • Lift the bottom cover off.

  6. IXGYlEIpbnEMaItr
    IXGYlEIpbnEMaItr
    QJ5yungboKrDLrUq
    J1dGxlZmXe5gnp6S
    • Unscrew the screws.

    • Remove the lid of the bumper, then the bumper itself.

    • I usually just leave the screws inside of the bumper lid. If you do so, make sure you don't lose any.

    Hi, I'm looking to replace my motherboard for roborock S5 Max but I can't find then anywhere. Would you please help me?

    Tejbir Singh -

    No, because we can no longer source them either.

    DegenFixer -

  7. jMS1yioK14Bf41JF
    jMS1yioK14Bf41JF
    VTltJdQY1DnUs135
    tHMPFiWGrtAAmaMc
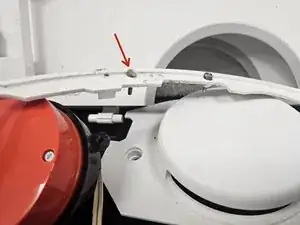
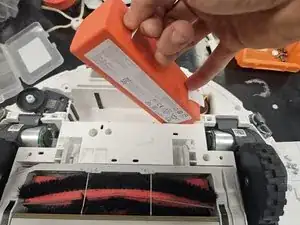
    • Grab it by the tab, then lift it out, tilting it towards the cable.

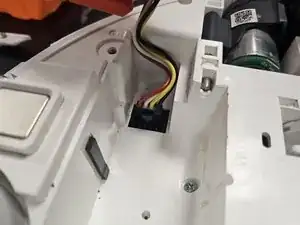
    • Once you can reach it, squeeze the connector to release it.

    • Don't tear the connector off the motherboard by yanking the battery out.

  8. LL5Lfm5bOji4itJJ
    LL5Lfm5bOji4itJJ
    sisGdoJ1rkDIGBKH
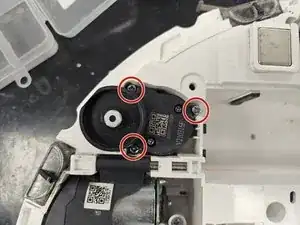
    • Remove the screws from the side brush motor.

    • Simply lift it out.

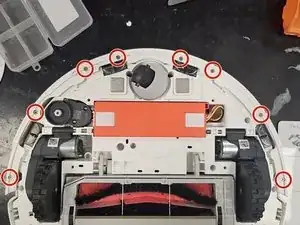
    • Remove the rest of the screws from the chassis.

  9. EVBiiDPSFvX6Tim4
    EVBiiDPSFvX6Tim4
    rSDuUt1dZunPkaAq
    dTBevdxeLtITPQYq
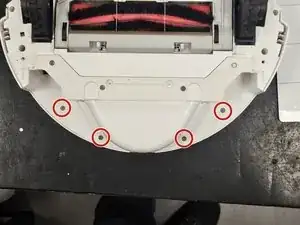
    • Remove the final 4 screws (these are non-magnetic).

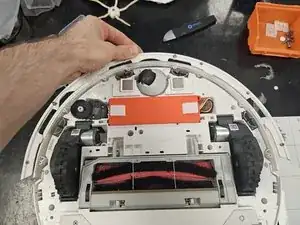
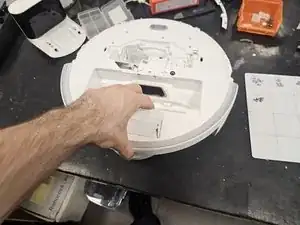
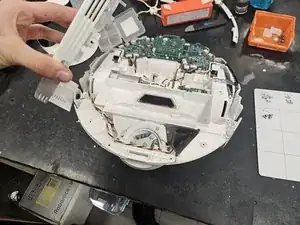
    • Flip it over, then pull the chassis apart.

  10. HUyTqKw1fnynhSGJ
    • Here are the screws organised by steps and size.

    • Use this if needed as a reference during reassembly.

    • The screws from the bottom cover (6, large) and bumper (8, small) are missing, as I usually keep the bottom cover screws separately as they are non-magnetic, and I usually do not remove the screws from the bumper lid.

DegenFixer

Member since: 18/09/24

4477 Reputation

0 comments