
Introduction
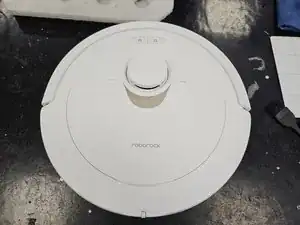
This guide will show you how to replace the Laser Distance Sensor (LDS or LiDAR) of Roborock's robotic vacuum Q Revo.
You may want to do so if your robot reports "Error 1: Laser Distance Sensor blocked."
Within the guide I will also outline how to replace just the motor that spins the LDS, as well as how to clean it properly.
I recommend reading the entire guide before starting the disassembly, then following steps as needed during.
If you already know how to disassemble it or have followed my teardown guide, skip to step 10.
-
-
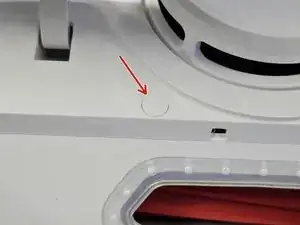
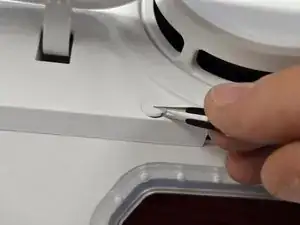
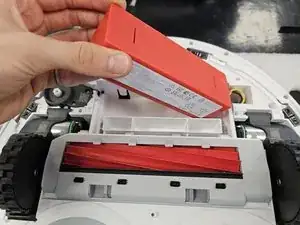
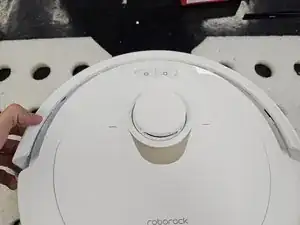
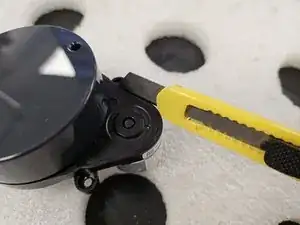
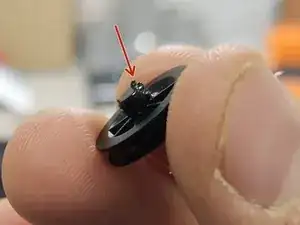
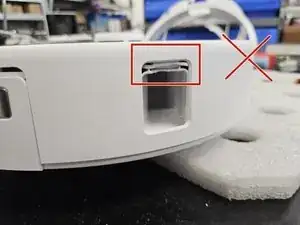
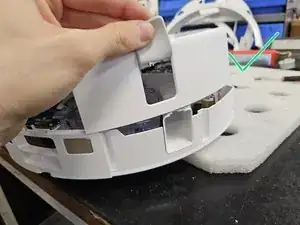
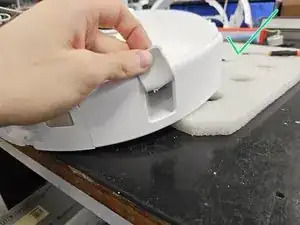
Remove the cap, then save it somewhere. It's purely cosmetic, so don't worry too much if you do lose it.
-
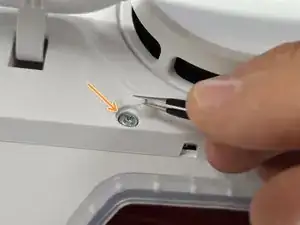
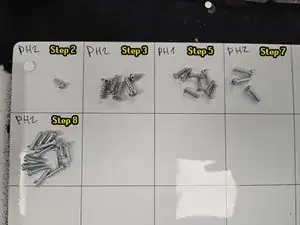
Once you remove the cap, remove the screw using a PH2 screwdriver.
-
-
-
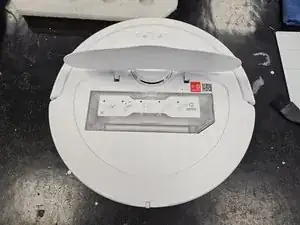
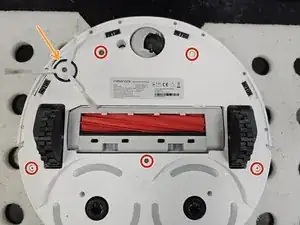
Flip it over.
-
Remove the side brush using a PH2 screwdriver.
-
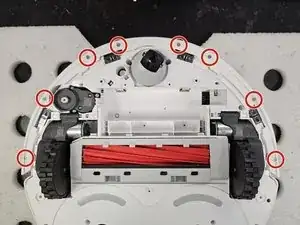
Remove the marked screws using a PH2 screwdriver.
-
-
-
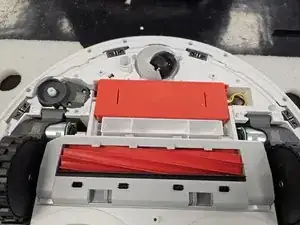
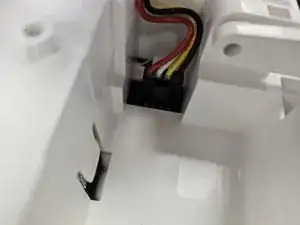
Remove the battery by lifting the left side until you can reach the connector, then disconnecting the connector by squeezing it's release tab.
-
-
-
Flip the robot over.
-
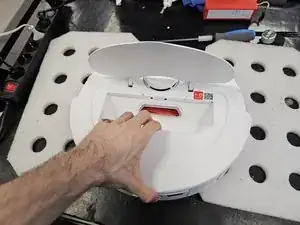
Remove the bumper by tilting it forwards to get it off the little tabs on the front.
-
-
-
Remove the remaining screws that hold the chassis together. Use a PH2 screwdriver.
-
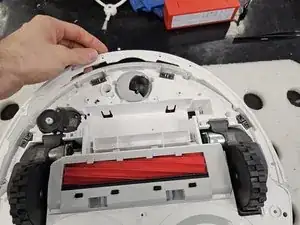
Flip it over, then pull it apart.
-
-
-
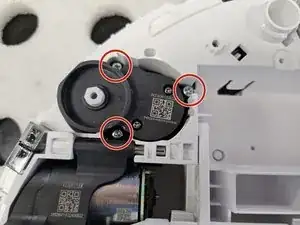
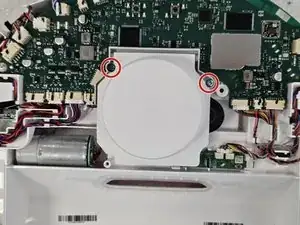
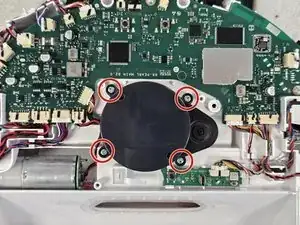
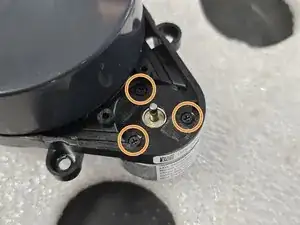
Remove the 4 screws using a PH2 screwdriver.
-
Disconnect the connector on the motherboard.
-
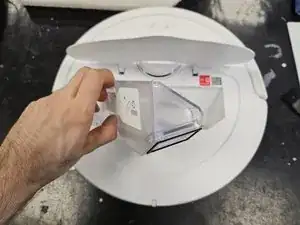
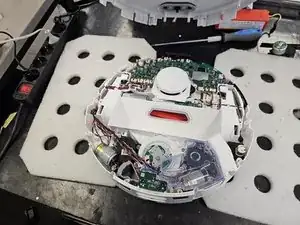
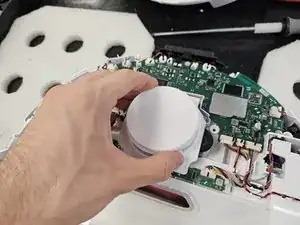
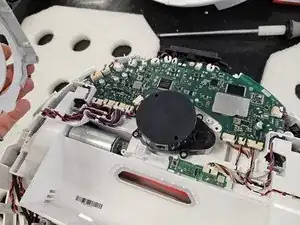
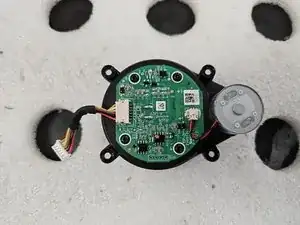
Remove the LDS.
-
-
-
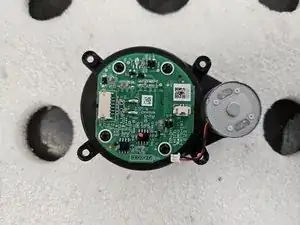
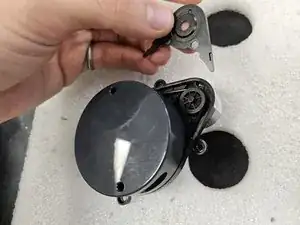
Disconnect the motor from the LDS. If you have a different LDS, it may be soldered to the PCBA.
-
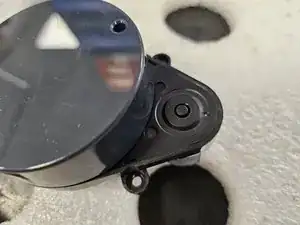
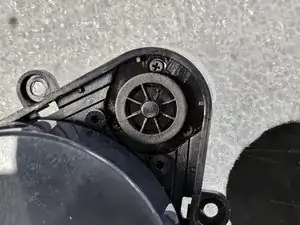
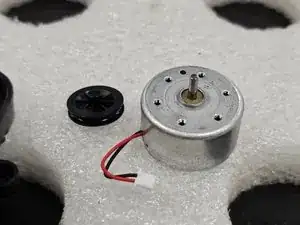
Unscrew the motor using a PH00 Screwdriver, then remove it.
-
Now you can replace or clean the motor.
-


To reassemble your device, follow these instructions in reverse order.

4 comments
Thank you very much.
detailed and easy explanation,
helped me a lot.
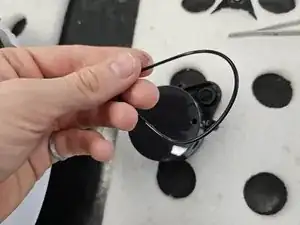
In my case, I only had to dismantle the plastic cover that hides the rubber band on the laser, and the laser started rotating easily again, reassembled it and the device came back to life,
thank you very much, excellent explanation
Thanks so much for this. Was very helpful and gave me the confidence to tackle getting to the lidar. Had Error 1. Tested the motor with a battery and it spun just fine so reassembled enough to see if it spun when powering on and it had fixed itself. Frustrating they make it so hard to get to when it seems to be a common failure point. Have loved the vacuum overall though! Thanks again.
Thank you very much for your help! At the beginning I had great respect for the effort involved and the many screws that had to be removed, but thanks to your instructions everything worked out. The robot hoover is now running perfectly.