Introduction

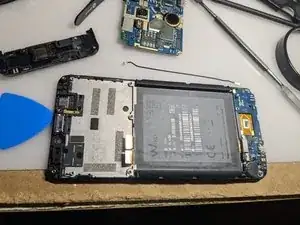
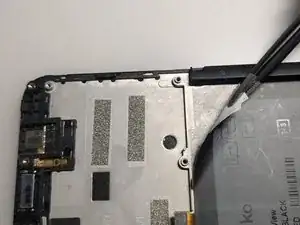
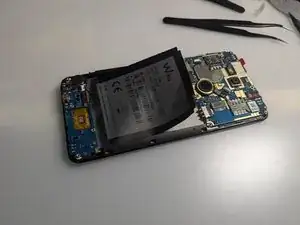
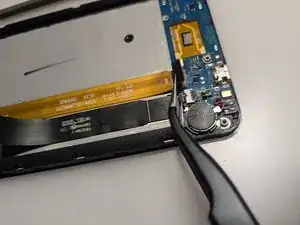
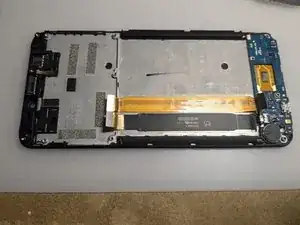
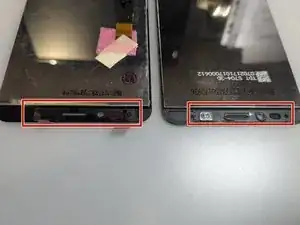
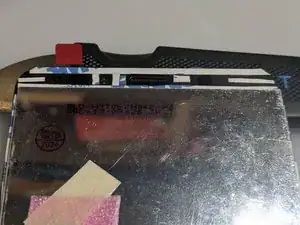
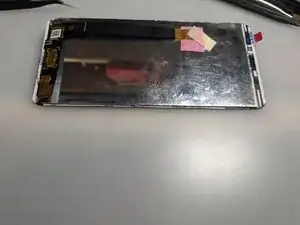
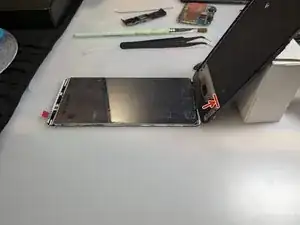
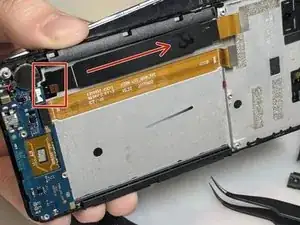
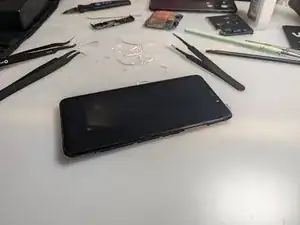
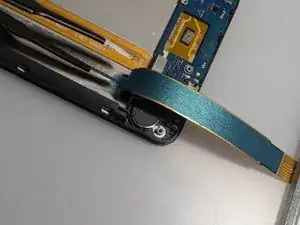
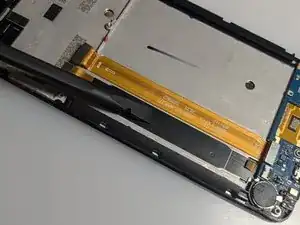
Use this guide to replace the screen for your Wiko View.

For your safety, discharge the battery below 25% before disassembling your phone. This reduces the fire risk if the battery is accidentally damaged during the repair. If your battery is swollen, take appropriate precautions.

Remove any back cover or screen protector before starting.

    • Allow your battery to drain below 25% before starting this repair. A charged battery may catch fire if damaged.

    • Fully power off your phone and unplug any cables.

    • Ground yourself the best you can to avoid damaging any little component.

    • If you have one, you can use the iFixit Anti-Static Wrist Strap.

  1. aJUvM13ODhTA6arU
    aJUvM13ODhTA6arU
    ZmtrQtODEFdJZvr3
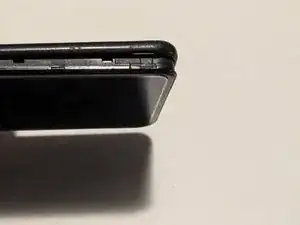
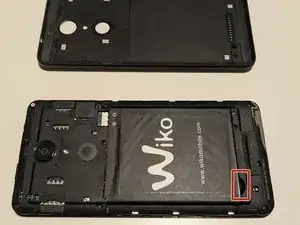
    • Locate the small gap in the bottom-right corner to separate the back cover from the phone's frame.

    • Pull slowly until you can lift the corner enough to grab the back cover with your fingers. You can use an opening pick for help.

    • Pull the back cover along all the sides to completely separate from the rest of the phone.

    • The back cover can tolerate a little bending but don't bend too much otherwise it will crack.

  2. UAyMuRafkHtQm2s5
    UAyMuRafkHtQm2s5
    1GaG2LTXYGYJ5hWd
    MVpAPPIjGcpy6x52
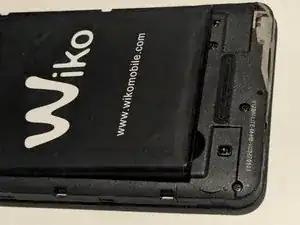
    • Once the back cover is completely removed, you can remove the battery by lifting it from the bottom-left corner.

    • There is another small gap for help.

    • You won't need the help of any tool for this.

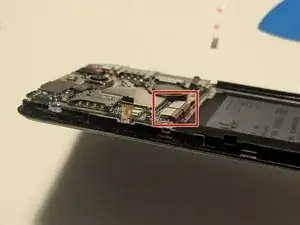
    • From now on, be very careful not to damage the tiny metal springs. The next steps will remove any protection for them; they are thin and very easy to break.

    • If you break one of them, you need to do precision soldering (or just tape it back in place with electrical tape for a quicker but very cheap solution).

  3. wBmWHKRHLTwNnbgI
    wBmWHKRHLTwNnbgI
    mjff1OWAJ3VM2nTx
    4SiiSg6QscFlgbL6
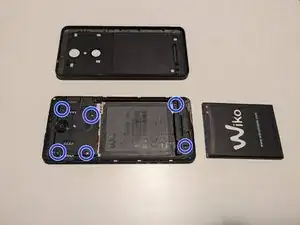
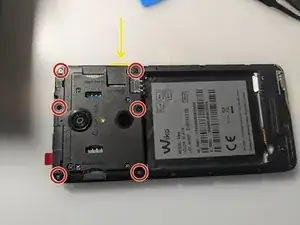
    • Remove every SIM or SD card from the slots.

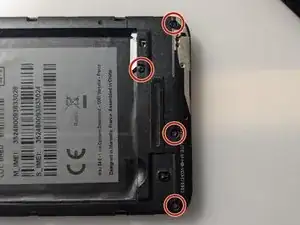
    • Unscrew all the six screws from the top plastic cover.

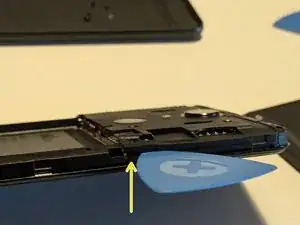
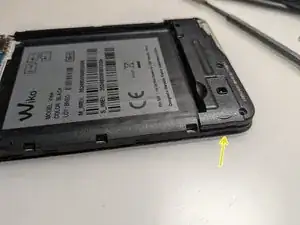
    • Start to lift gently the cover using opening picks from its bottom-right corner.

    • Only insert the pick up to 3.5 mm to avoid damaging the internals.

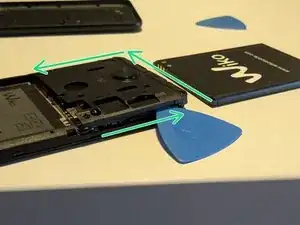
    • Keep pushing the opening pick along all the external sides of the plastic cover.

    • You need to open all the plastic clips hidden under the cover itself. You can notice a soft "pop" when opening successfully one of them.

    • When all the clips are opened, you can lift the cover completely with caution.

  4. k4jPhwIKDlPjfnRf
  5. KrZlDfNQKd5FFVEB
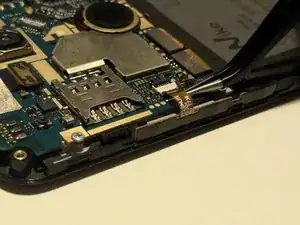
    • Unplug the display-touch digitizer and bottom circuit connectors with the help of a spudger.

    • They are both press connectors.

  6. Te4fJfsnjqQwfgmn
    Te4fJfsnjqQwfgmn
    WetN6QVOU4kqRVX4
    ynDemMVkjyKAciGb
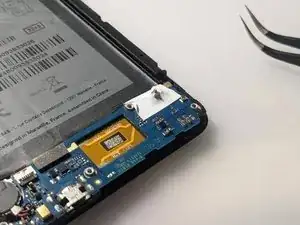
    • Unscrew all four screws.

    • Like in the Step 4, use an opening pick to lift and remove carefully the cover from the bottom-left corner.

    • We are not going to remove the bottom motherboard in this guide.

  7. 3Dr6RBkwrLrI4cEp
    3Dr6RBkwrLrI4cEp
    vED1ogOvWgU6IRA4
    kdKLvUZWgYkEynGf
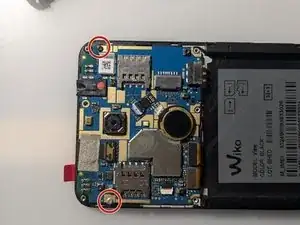
    • Unscrew the two screws that hold the motherboard.

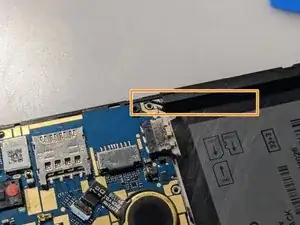
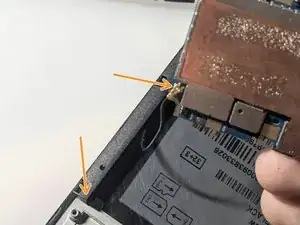
    • Do not apply force to remove the motherboard, otherwise you will cut the antenna cable.

    • Gently lift the motherboard passing the cable under the plastic frame and go to the next step.

  8. W3WHAQJMbLVCiOdX
    W3WHAQJMbLVCiOdX
    fHaM23nnAHEUQmWt
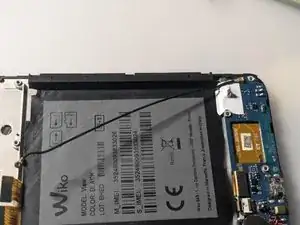
    • Unplug the antenna cable from both ends.

    • It has a coaxial connector.

    • Remember to reconnect the antenna cable before remounting the motherboard.

  9. TPGJNYKK6AcBXgvu
    TPGJNYKK6AcBXgvu
    ZXNSTNNuVqvvt5GK
    • With the help of a tweezer, remove slowly the back sticker.

    • Take note of the codes written in case it breaks.

    • After the substitution, you can put it back where was.

  10. XMgNDINRYWSOWPAV
    XMgNDINRYWSOWPAV
    otrrHHv1OlNqUKTM
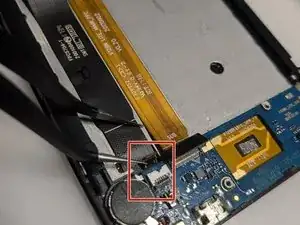
    • Unplug the cable that links the two motherboards.

    • Do not completely remove the cable from the metal case.

  11. H4uNFPfGGxUw5JGW
    H4uNFPfGGxUw5JGW
    bu6ybbRCNbR2abTE
    Z1kJirACyUWEsQjt
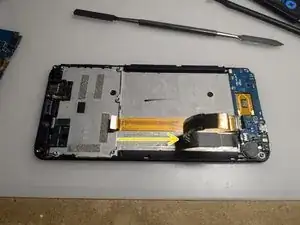
    • First, unplug the cable from the bottom motherboard.

    • It's a "no-fuss" ribble cable connector.

    • Then slowly pull the bigger cable.

    • The cable is glued to the metal case.

    • Be sure to lift the cable for all its length, so the adhesive won't keep it in place and break it in the following steps.

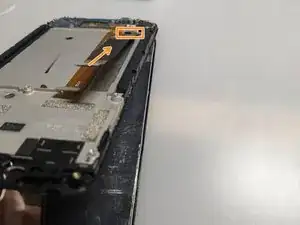
    • Do not completely remove the cable - it is linked to the display under the metal case.

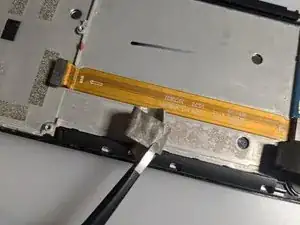
    • Remove the grey adhesive.

  12. JvFKT3HOfq26fmqd
    JvFKT3HOfq26fmqd
    ee3oa1LOvB4YmTyc
    hPxhpjxi4YW1kqHV
    • Heat an iOpener and apply it to the right edge of the screen for two minutes.

    • A hair dryer, heat gun, or hot plate may also be used, but be careful not to overheat the phone - the display is susceptible to heat damage.

    • Apply a suction cup to the screen, as close to the center of the right edge as possible, and pull up with strong, steady force to create a gap between the bezel and the frame.

    • Insert an opening pick into the gap.

    • Depending on the age of your phone, this may be difficult. If you're having trouble, apply more heat to the edge and try again. You can also use a Jimmy instead (being very careful not to scratch the metal frame). If your display is badly cracked, covering it with a layer of clear packing tape may allow the suction cup to adhere.

    • Release all the clips and unglue the screen.

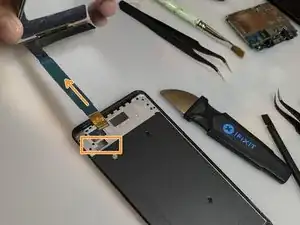
    • Pull the cable through the frame's opening.

  13. urFO3ELTiukunBxE
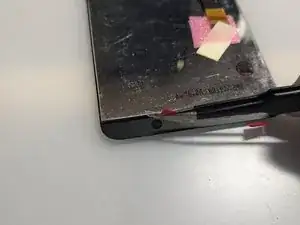
    • Remove the adhesive backings from the new part

    • Remove the protective adhesive in front of the screen only when the reparation is complete.

  14. RMlWqMwmYgv3lRwu
    RMlWqMwmYgv3lRwu
    icsJVk2ttTZbkJko
    1feVjL1BNhAOCZLF
    • Compare your new replacement part to the original part - you may need to transfer the remaining components.

    • For example:

    • The ear capsule grid.

    • The lens of the internal flash.

  15. 1lYJWvufikdH1Mrs
    1lYJWvufikdH1Mrs
    XOU6DDFJGrduKQsF
    uZ1tXvSvuYs1sWXL
    • Fill all the screen's borders with the double-sided adhesive.

    • You can use the precision tweezer and spudger to help you position and compress the tape in place.

  16. eENPkNdf2WsGCJIe
    eENPkNdf2WsGCJIe
    GSvM53kPisHsOO3K
    • Insert the new display cable in the metal case opening.

  17. qpxK3CVFuhhPkUkN
    • Remove all the protective layers from the placed tape.

    • Push the display into the frame.

    • Let the glue dry.

  18. UdDT3luHyUkWkxjD
    UdDT3luHyUkWkxjD
    LC2jwpdRiIKHs3Np
    KFvpEMsfGgMlMBjD
    • Remove the protective layer from the main cable's adhesive.

    • Place the main cable parallel to the orange one.

Conclusion

You can take the opportunity to clean in-depth your device.

To reassemble your device, follow these instructions in reverse order.

Before completely closing your device, make some tests for the display and touch.

Leave your device under a book or some soft weight for a couple of hours to let the screen adhesive stick well.

Emanuele Artusi

Member since: 23/10/24

329 Reputation

0 comments